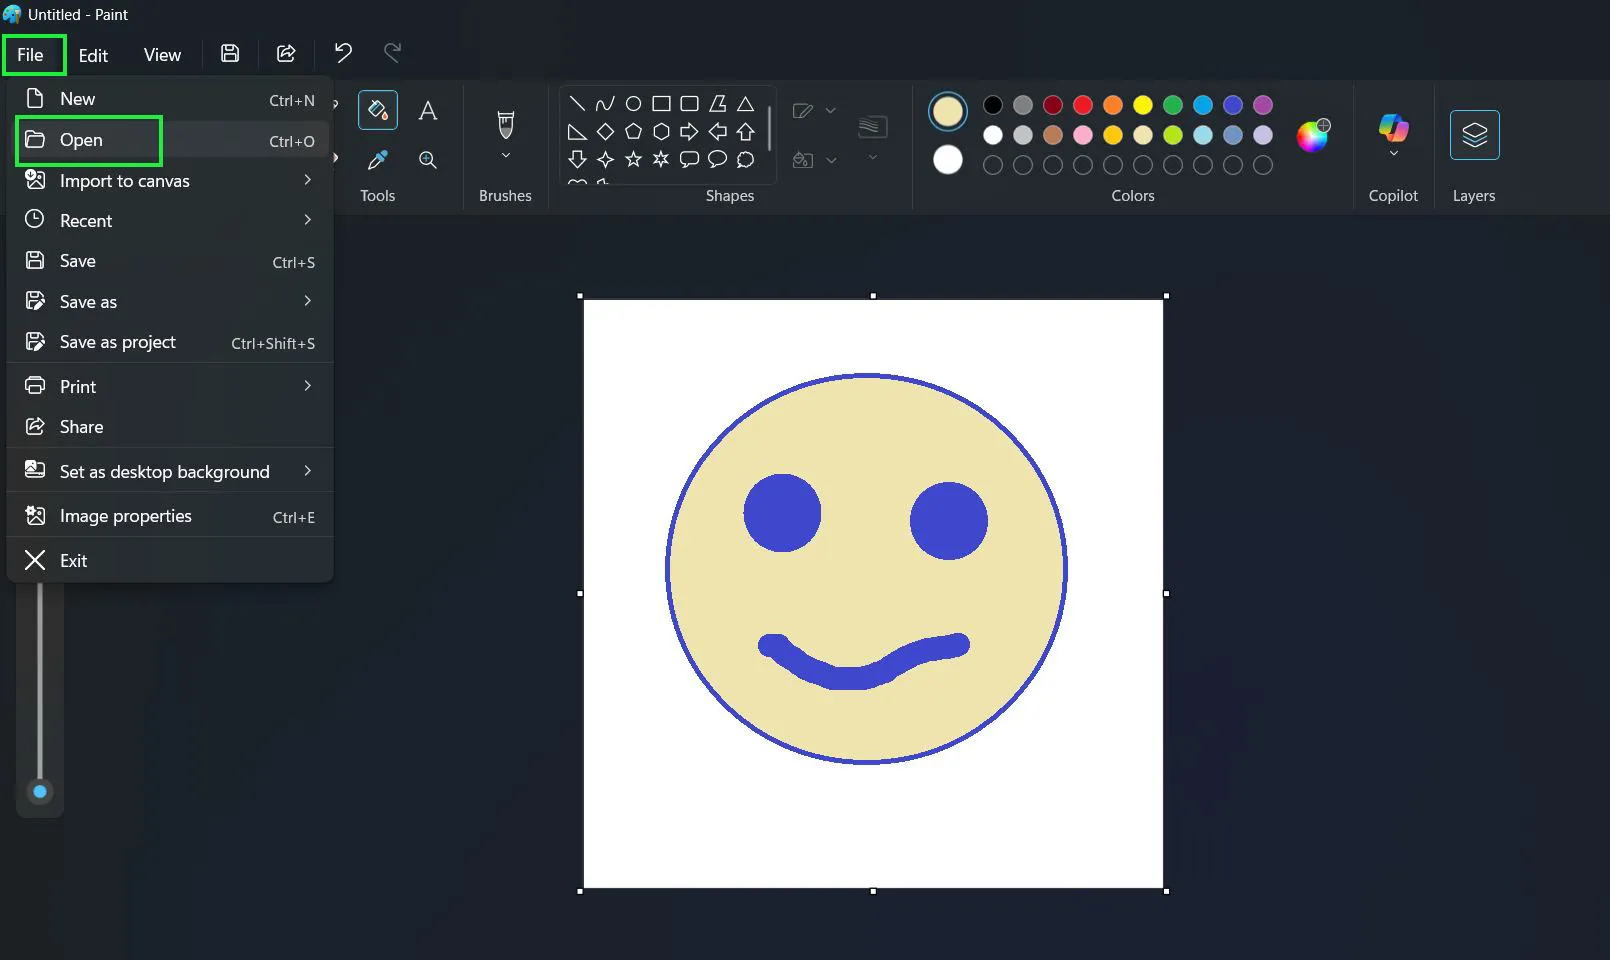
Getting help with Paint in Windows 11 starts with understanding where to find the app and how to use its essential features. Paint remains one of the most accessible image editing tools built directly into Windows, offering a simple interface for quick edits, drawings, and basic graphic work.
Opening Paint in Windows 11
Accessing Paint has become even simpler with the updated Windows 11 interface. Multiple methods exist to launch the application quickly.
Using the Search Bar
The fastest way to open Paint involves the search function. Most people find that this method saves time compared to navigating through menus.
- Click the Start button or press the Windows key on the keyboard
- Type ‘Paint’ into the search box
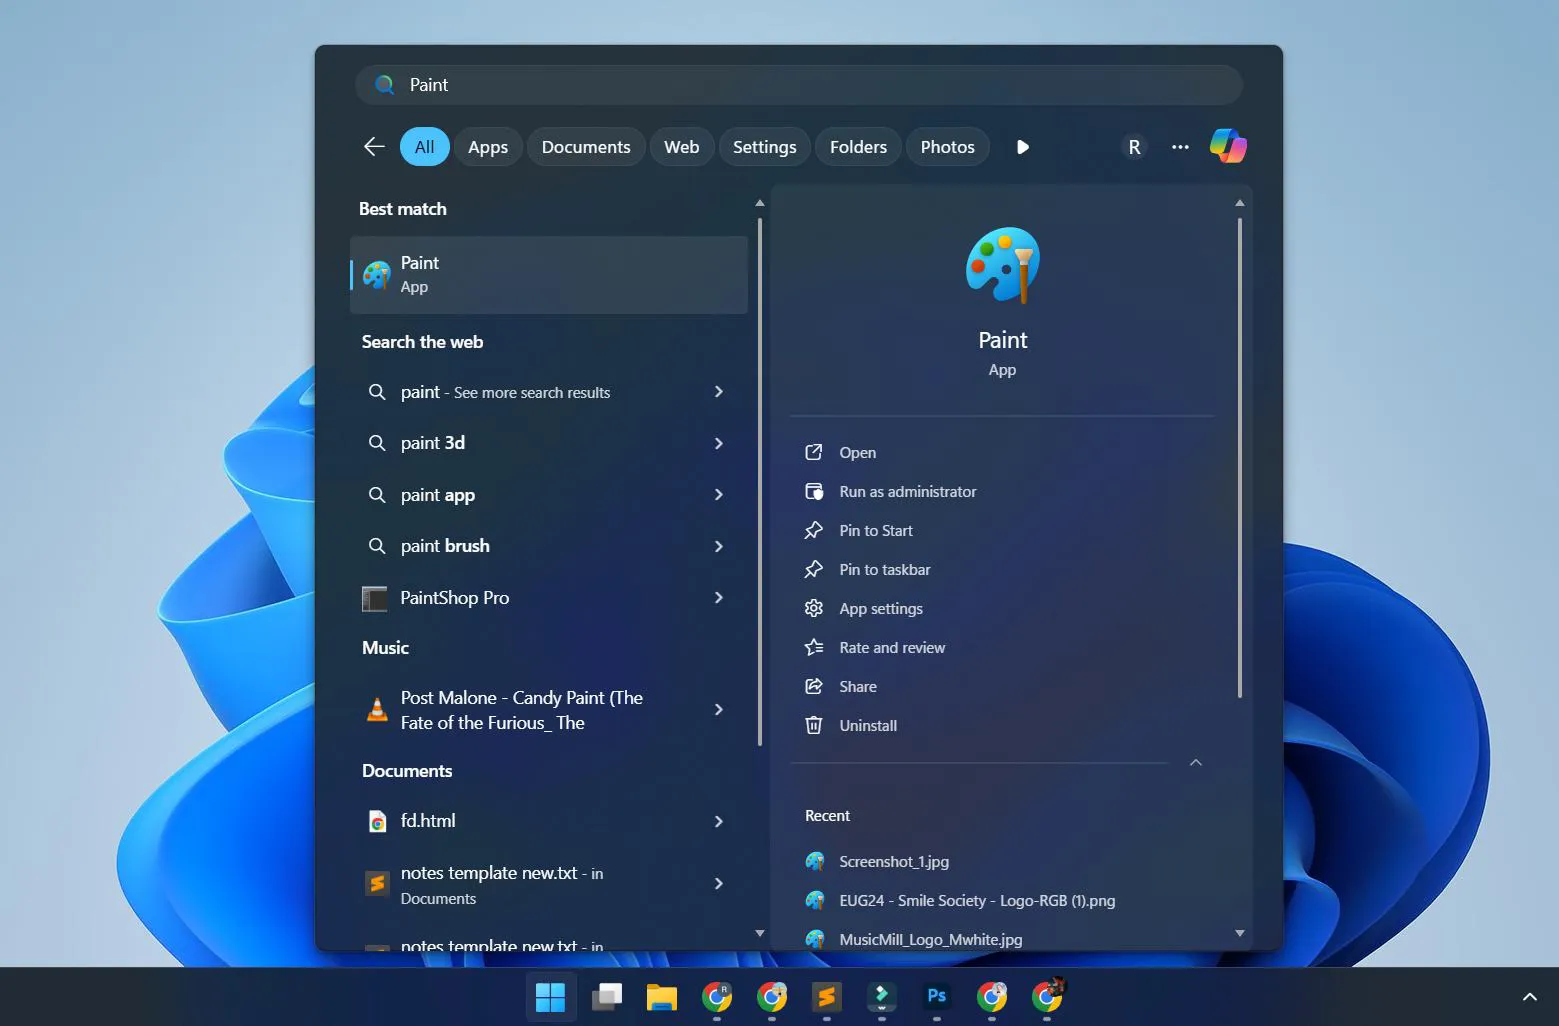
- Select the Paint app from the search results
- The application launches immediately on the desktop
Understanding the Paint Interface
Windows 11’s version of Paint maintains familiar elements while introducing modern design touches. The ribbon-style toolbar sits at the top, grouping tools into logical categories.
The Default Tab
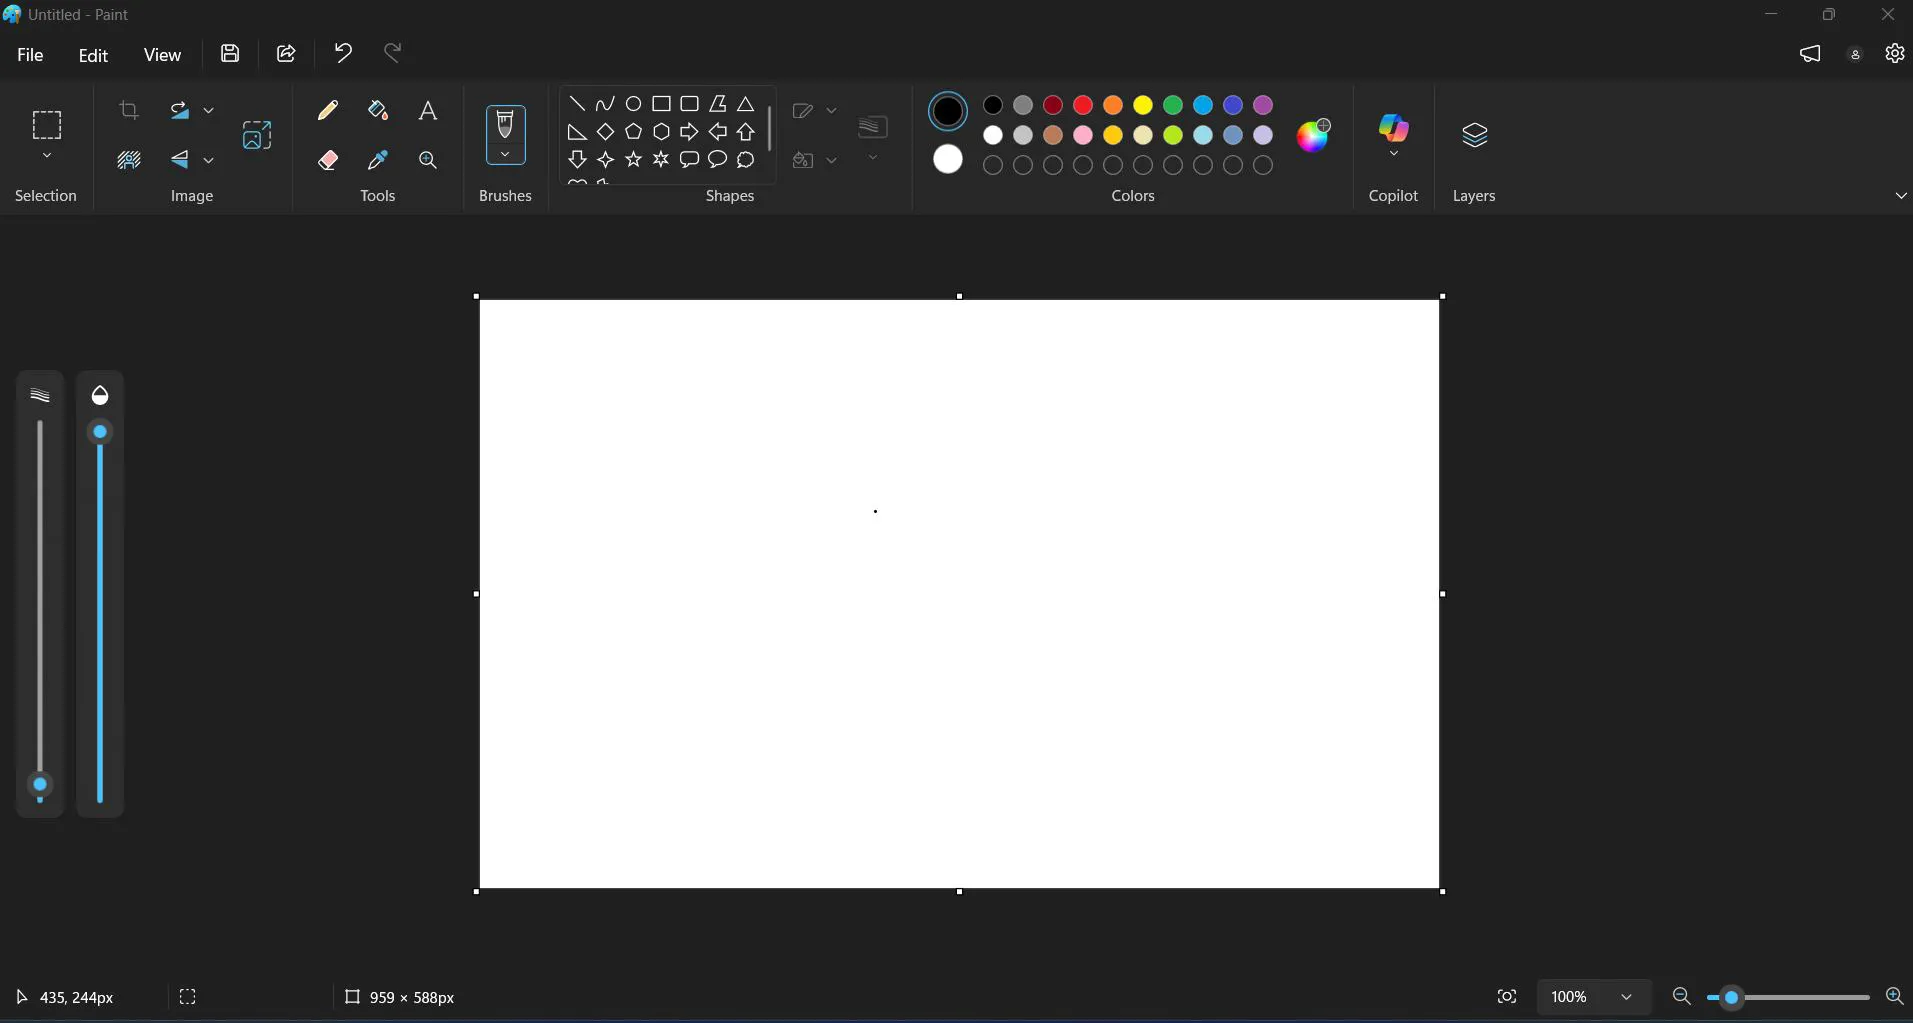
This primary workspace contains all essential drawing and editing tools. The clipboard section handles copying and pasting, while the image section manages selection tools. Brushes and shapes occupy the center portion, with colors displayed prominently on the right side.
The View Tab
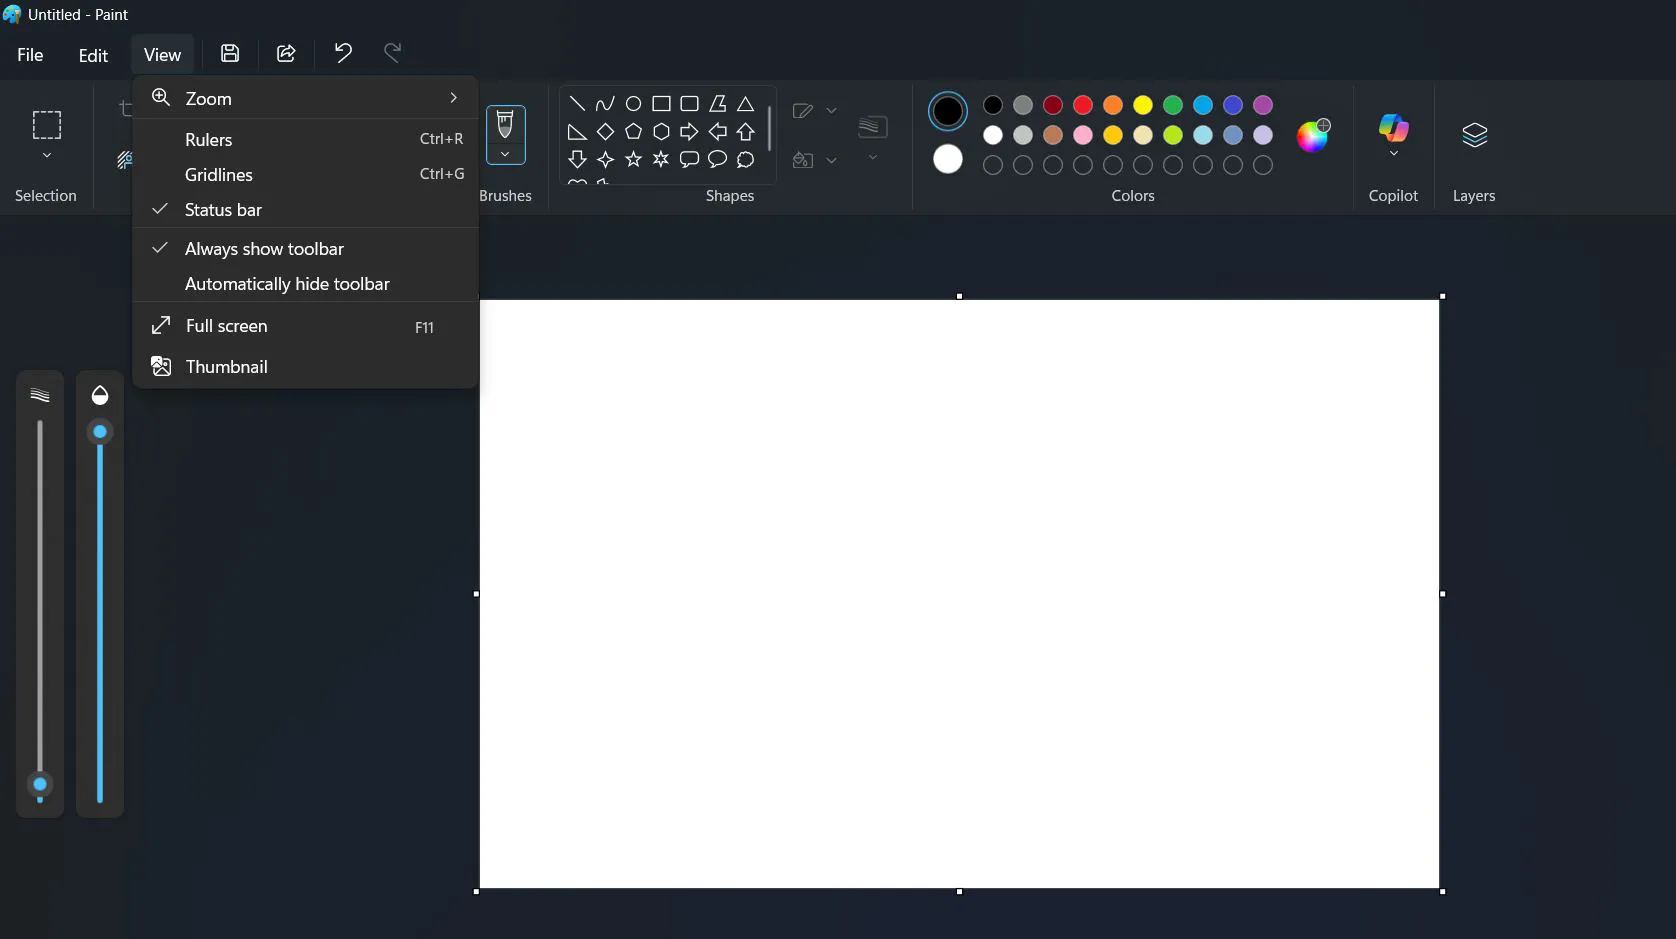
Zoom controls and display options live here. Gridlines, rulers, and zoom levels adjust to make detailed work easier. This works best when creating precise drawings or aligning multiple elements.
Using Basic Drawing Tools
Paint offers several fundamental tools for creating and editing images. Each tool serves specific purposes, making various tasks achievable without complex software.
Pencil and Brush Tools
The pencil creates thin, precise lines perfect for detailed work. The brush offers thicker strokes with customizable sizes.

- Select the Pencil or Brush icon from the Home tab
- Choose the desired size from the Size Slider located on left side
- Pick a color from the Colors palette
- Click and drag on the canvas to draw
Shape Tools
Rectangles, circles, triangles, and other shapes appear with just a few clicks. The key is to understand outline versus fill options.
- Click the Shapes button on the Home tab
- Select the desired shape from the dropdown menu
- Choose between outline, fill, or both using the Outline options
- Click and drag on the canvas to create the shape
Working with Text
Adding text to images requires understanding font selection and positioning. Paint handles basic text needs effectively.
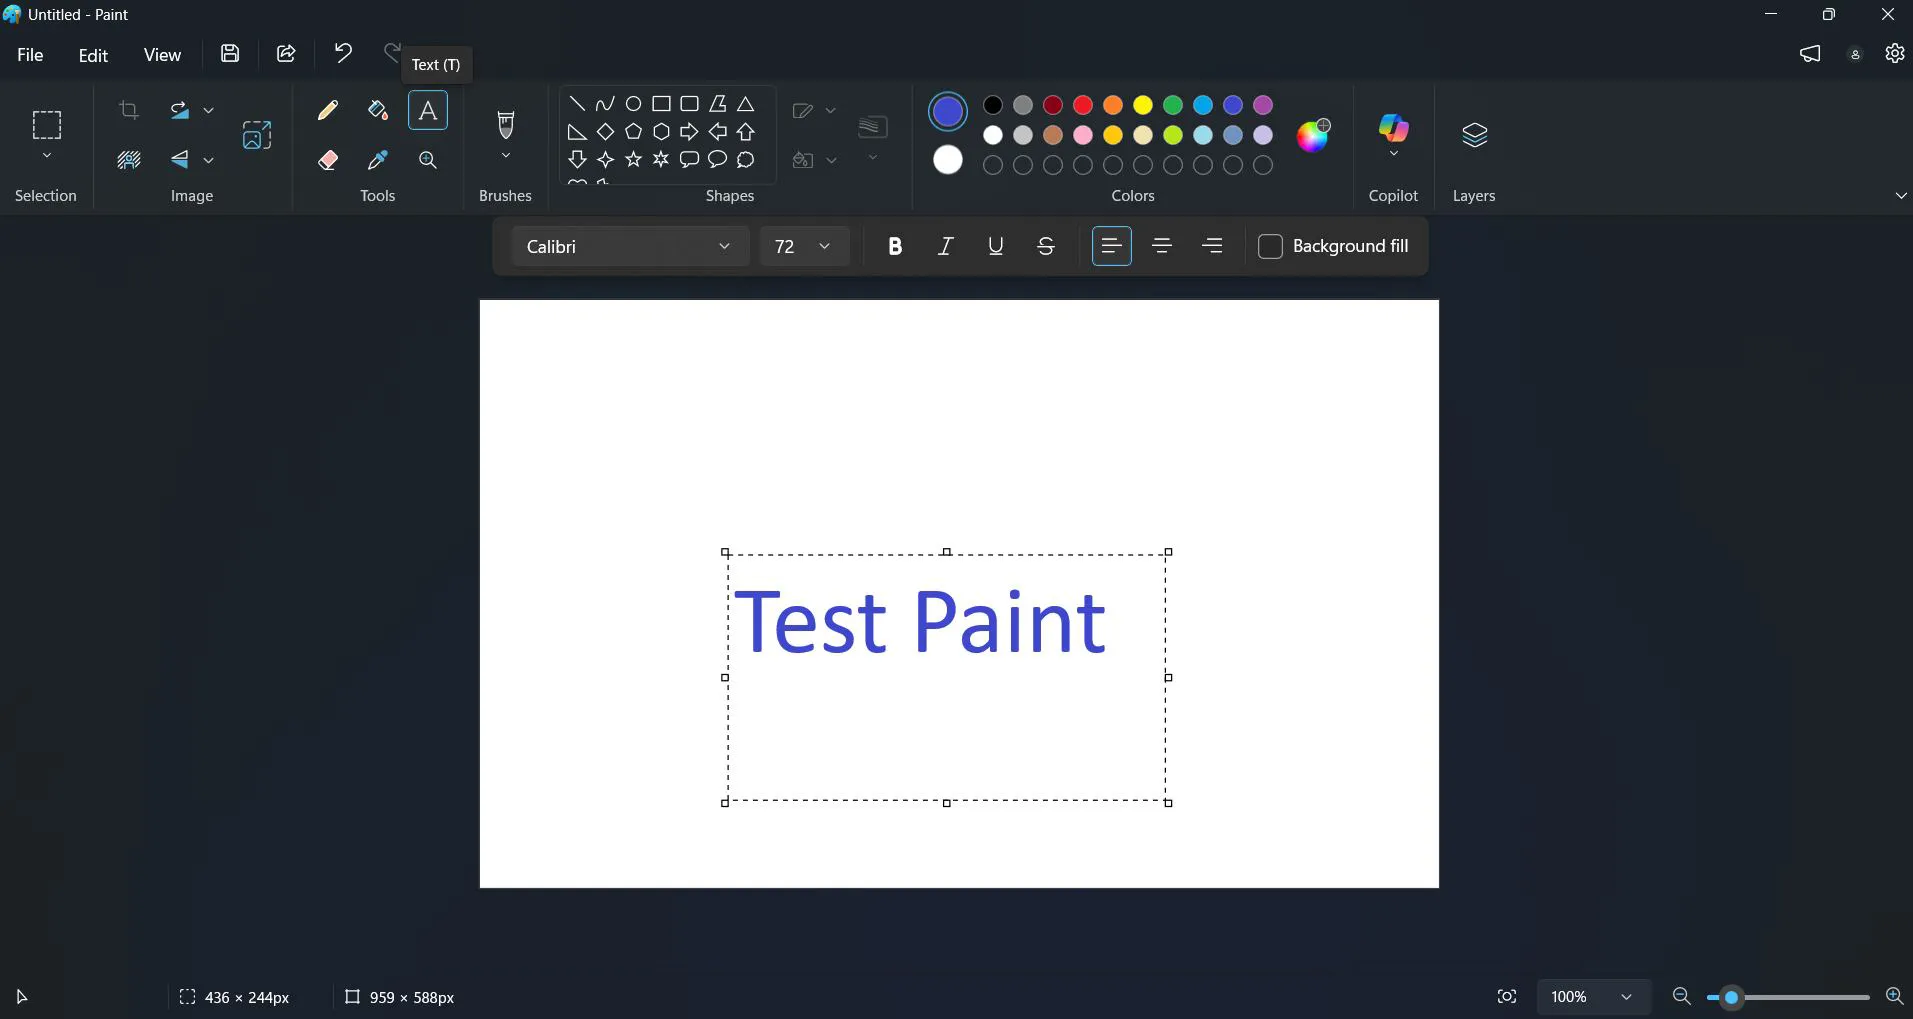
- Click the Text tool (A icon) on the Home tab
- Click anywhere on the canvas to create a text box
- Type the desired text into the box
- Use the Text tab that appears to change font, size, and style
- Adjust text color from the Colors section
- Click outside the text box when finished
Remember that once text is placed and deselected, it becomes part of the image and cannot be edited as text anymore. This makes planning text placement important before finalizing.
Selection and Editing Tools
Moving, copying, and manipulating portions of images becomes possible through selection tools. Two main options exist for different selection needs.
Rectangular Selection
This tool creates straight-edged selections perfect for geometric areas.
- Click the Select button and choose Rectangular selection
- Click and drag to create a selection box around the desired area
- Use Cut, Copy, or Delete from the clipboard section
- Click elsewhere to deselect
Free-Form Selection
Irregular shapes and curved areas need the free-form option for precise selection.
- Choose Free-form selection from the Select dropdown
- Click and drag to draw around the area manually
- Connect back to the starting point to complete the selection
- Apply desired editing actions
Resizing and Cropping Images
Adjusting image dimensions happens frequently when preparing graphics for specific purposes. Paint provides straightforward options for both operations.
Resizing Images
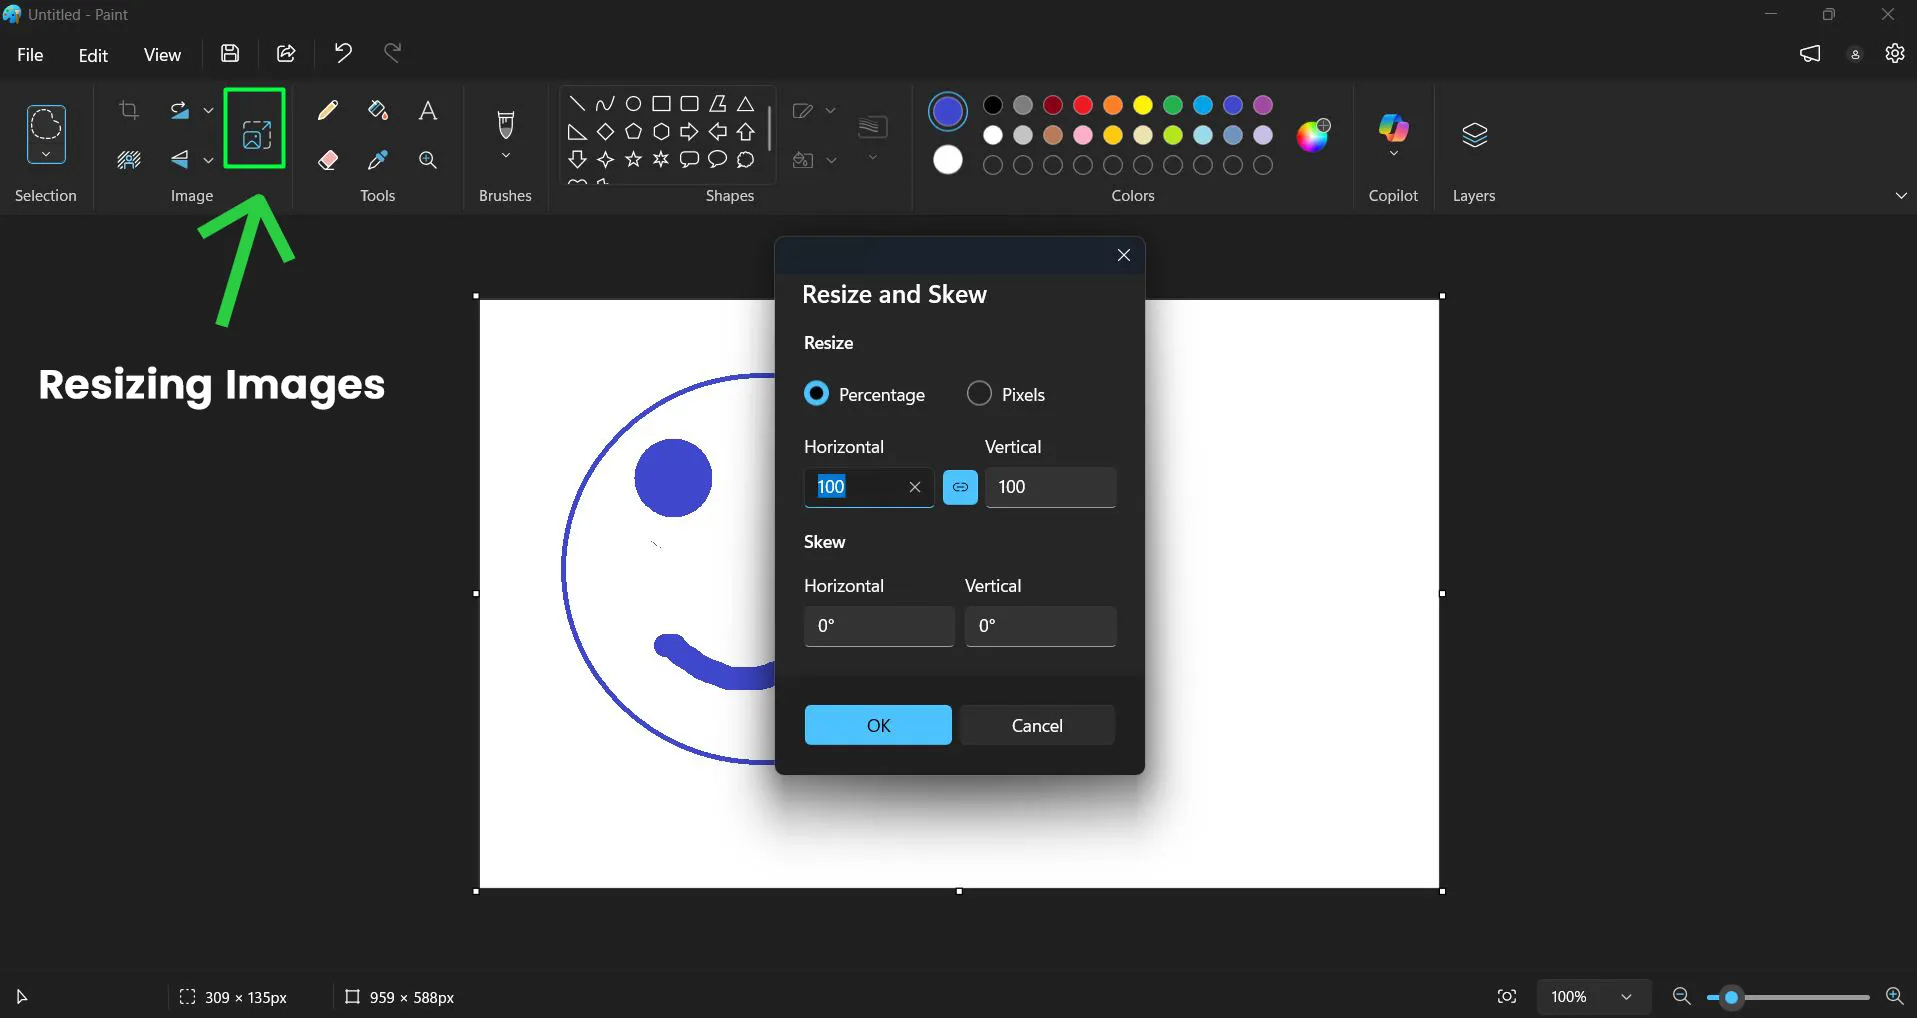
- Click the Resize button on the Home tab
- Choose between Percentage or Pixels
- Enter the desired dimensions (maintain aspect ratio checkbox keeps proportions)
- Click OK to apply the changes
Cropping Images
- Use the selection tool to highlight the area to keep
- Click the Crop button on the Home tab
- Everything outside the selection disappears immediately
Saving Your Work
Preserving edited images requires understanding file formats and save locations. Different formats serve different purposes depending on intended use.
Save As New File
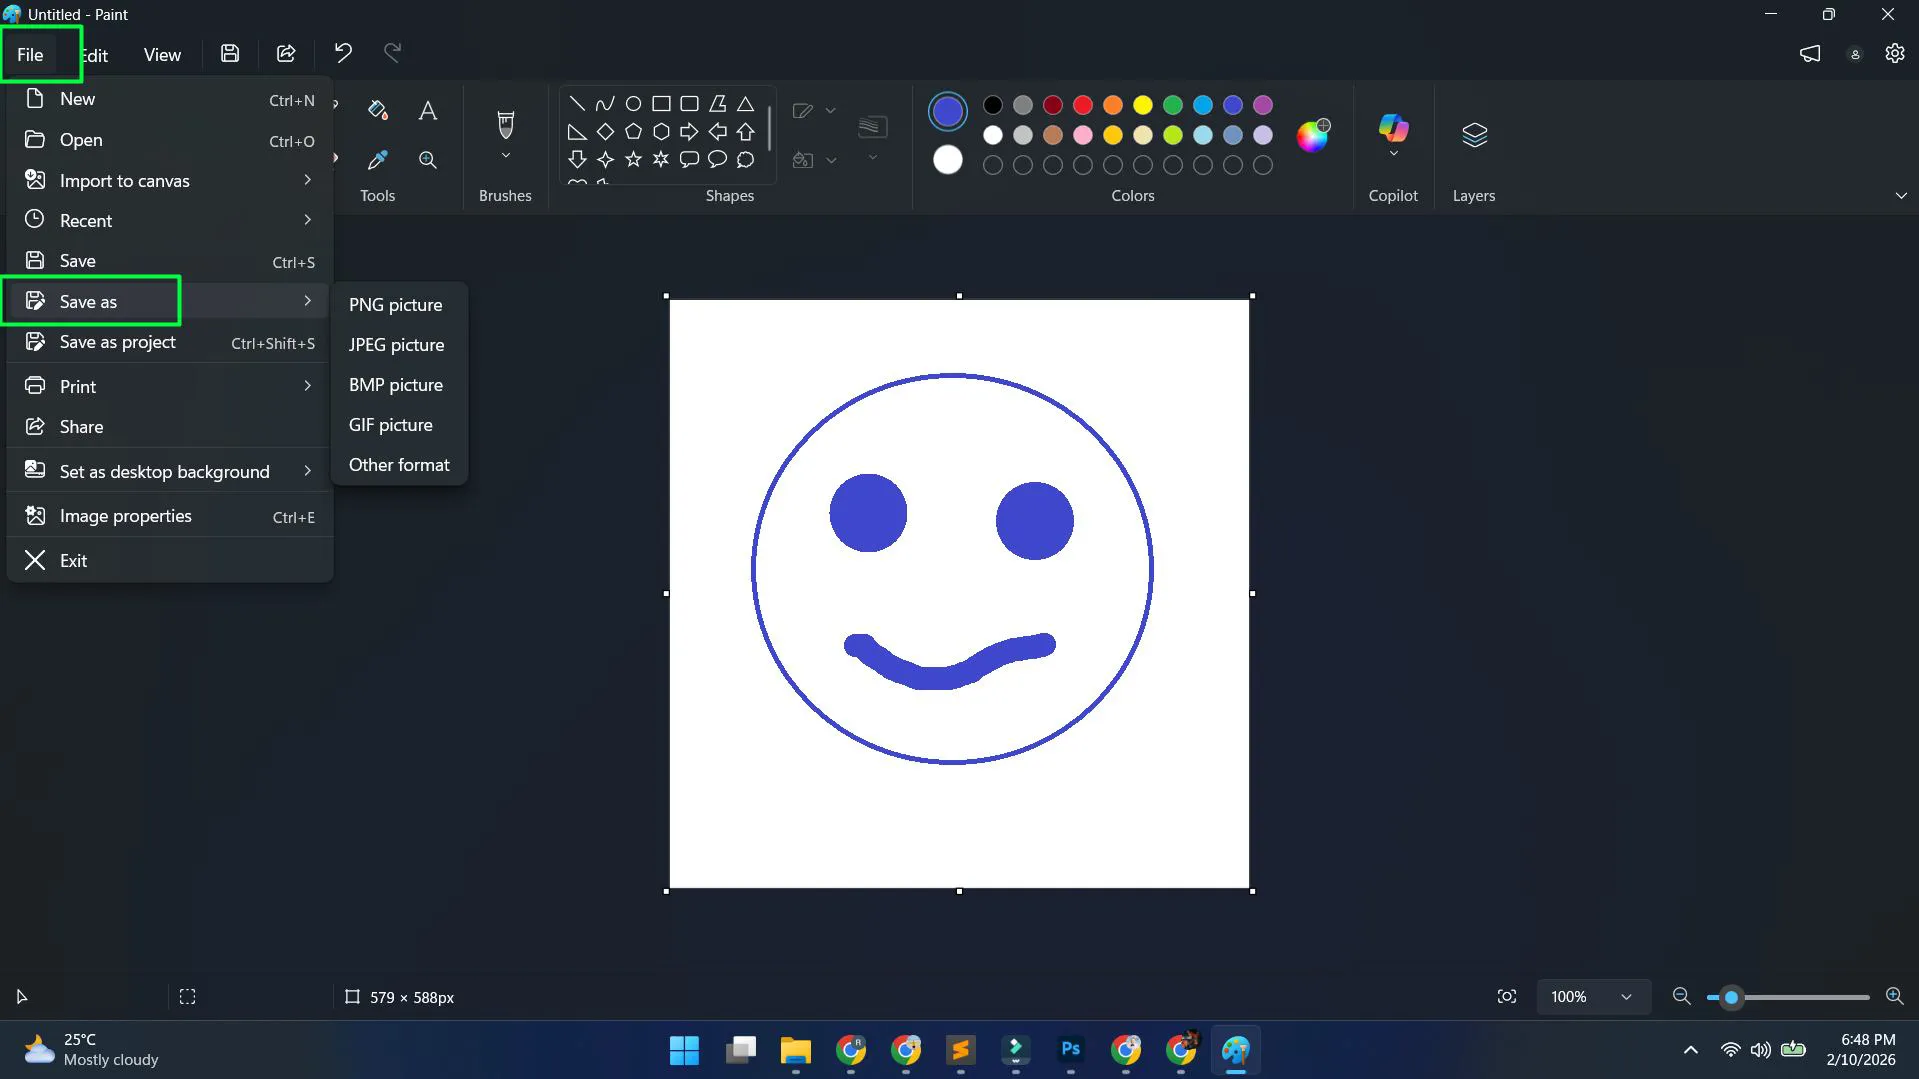
- Click File in the top-left corner
- Select Save As from the menu
- Choose the file format (PNG, JPEG, BMP, or GIF)
- Navigate to the desired save location
- Enter a filename
- Click Save to complete the process
PNG format works best when images need transparency or will be edited later. JPEG suits photographs and images destined for web use where file size matters. BMP creates larger files with no compression, while GIF handles simple animations and graphics.
Quick Save
Pressing Ctrl+S saves changes to the current file immediately without opening dialog boxes. This shortcut becomes invaluable during longer editing sessions.
Using the Eraser Tool
Removing portions of drawings or correcting mistakes requires the eraser function. This tool operates similarly to physical erasers but with adjustable sizes.
- Select the Eraser tool from the Home tab
- Choose an eraser size from the Size options
- Click and drag over areas to remove
- The eraser removes content and reveals the background color
Background color matters here because the eraser replaces removed content with whatever background color is currently selected. Most scenarios work well with white as the background.
Color Picker and Custom Colors
Matching exact colors from existing images or creating specific shades requires color selection tools. Paint includes both preset colors and custom color creation.
Using Preset Colors
The Colors section displays common colors ready for immediate use. Clicking any color sets it as the active drawing color.
Creating Custom Colors
- Click Edit Colors in the Colors section
- Adjust the color spectrum and brightness sliders
- Fine-tune using Red, Green, and Blue values if needed
- Click OK to add the color to the palette
Picking Colors from Images
The eyedropper tool samples colors directly from existing images, making color matching effortless.
- Click the Color Picker (eyedropper icon)
- Click any pixel in the image
- That color becomes the active drawing color automatically
Zoom and View Controls
Detailed work requires close-up views, while overall composition needs wider perspectives. The View tab provides all necessary controls for adjusting magnification.
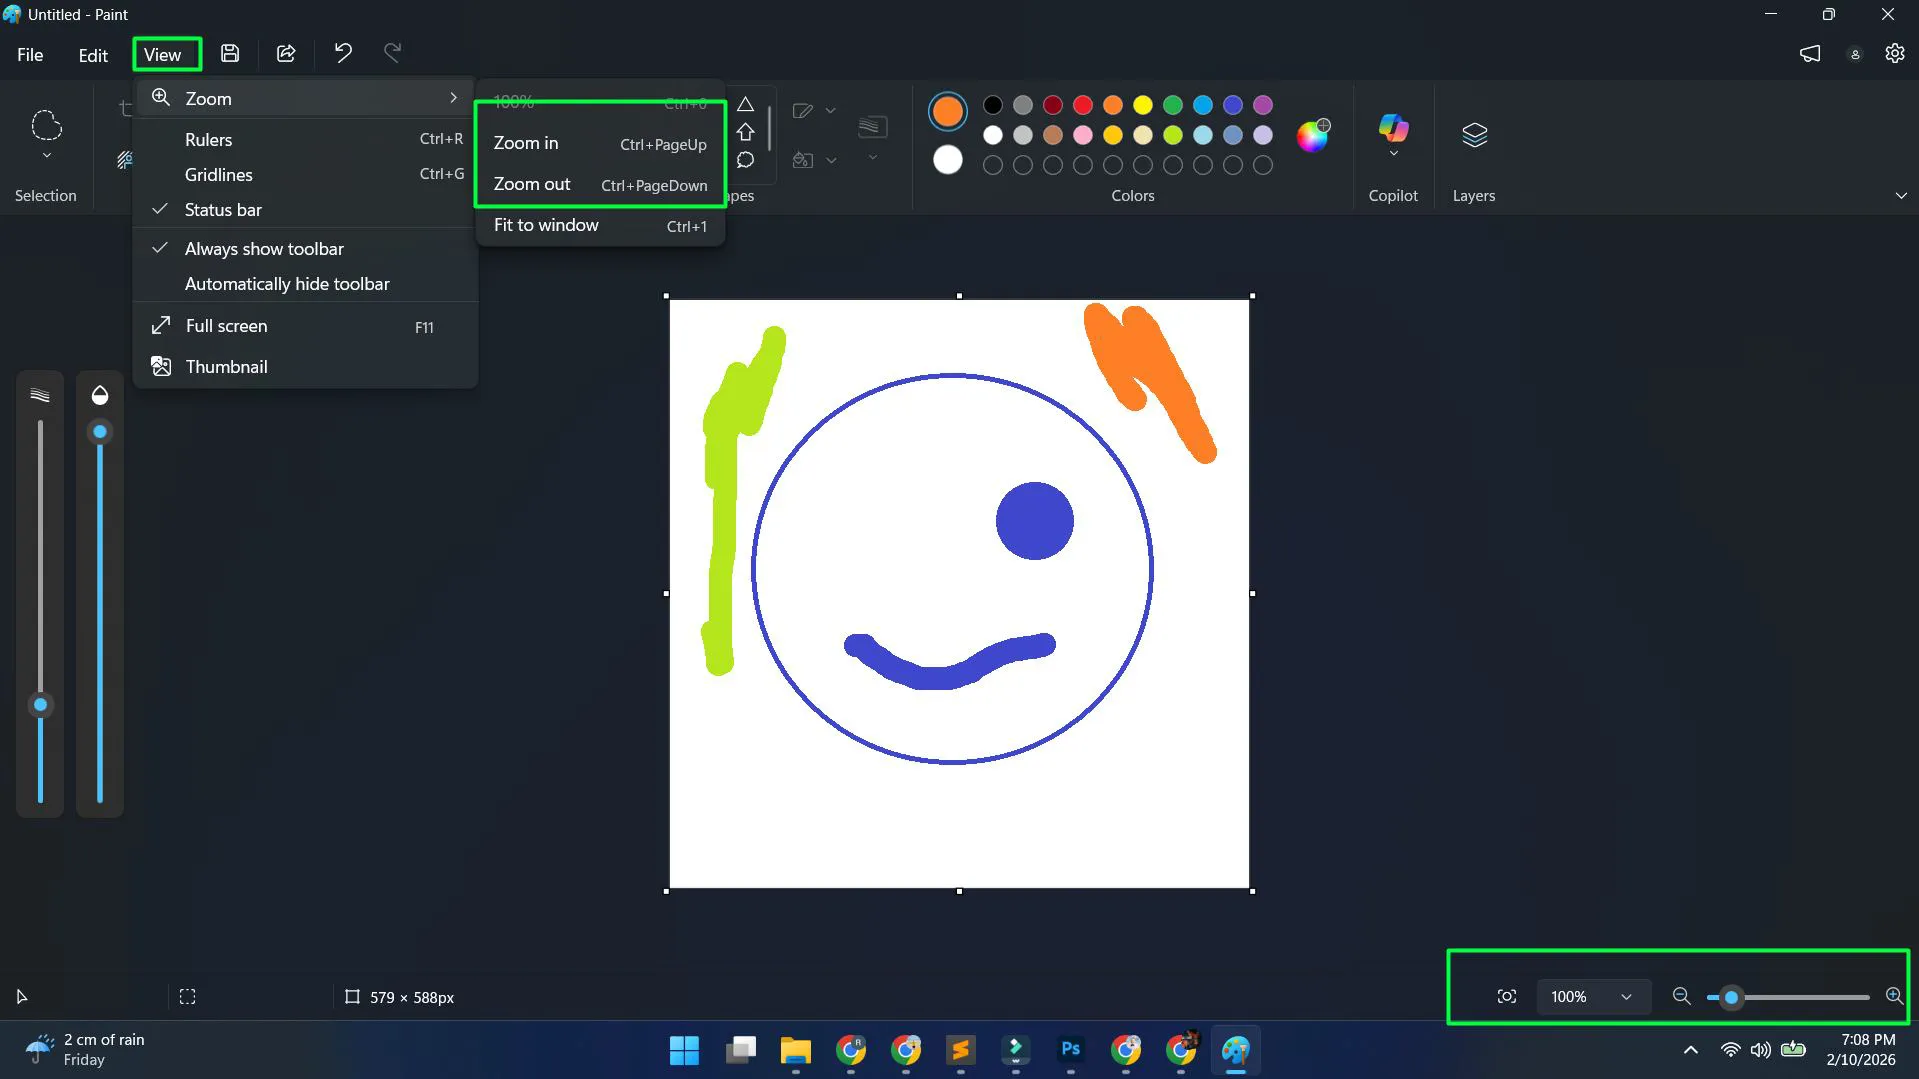
- Open the View tab from the ribbon
- Use the Zoom in and Zoom out buttons for quick adjustments
- Select specific zoom percentages from the dropdown menu
- Enable Gridlines for precise alignment
- Turn on Rulers for measurement reference
The zoom slider at the bottom-right corner offers another quick way to adjust magnification without accessing the View tab.
Undo and Redo Functions
Mistakes happen during creative work, making undo capabilities essential. Paint remembers multiple steps backward and forward.
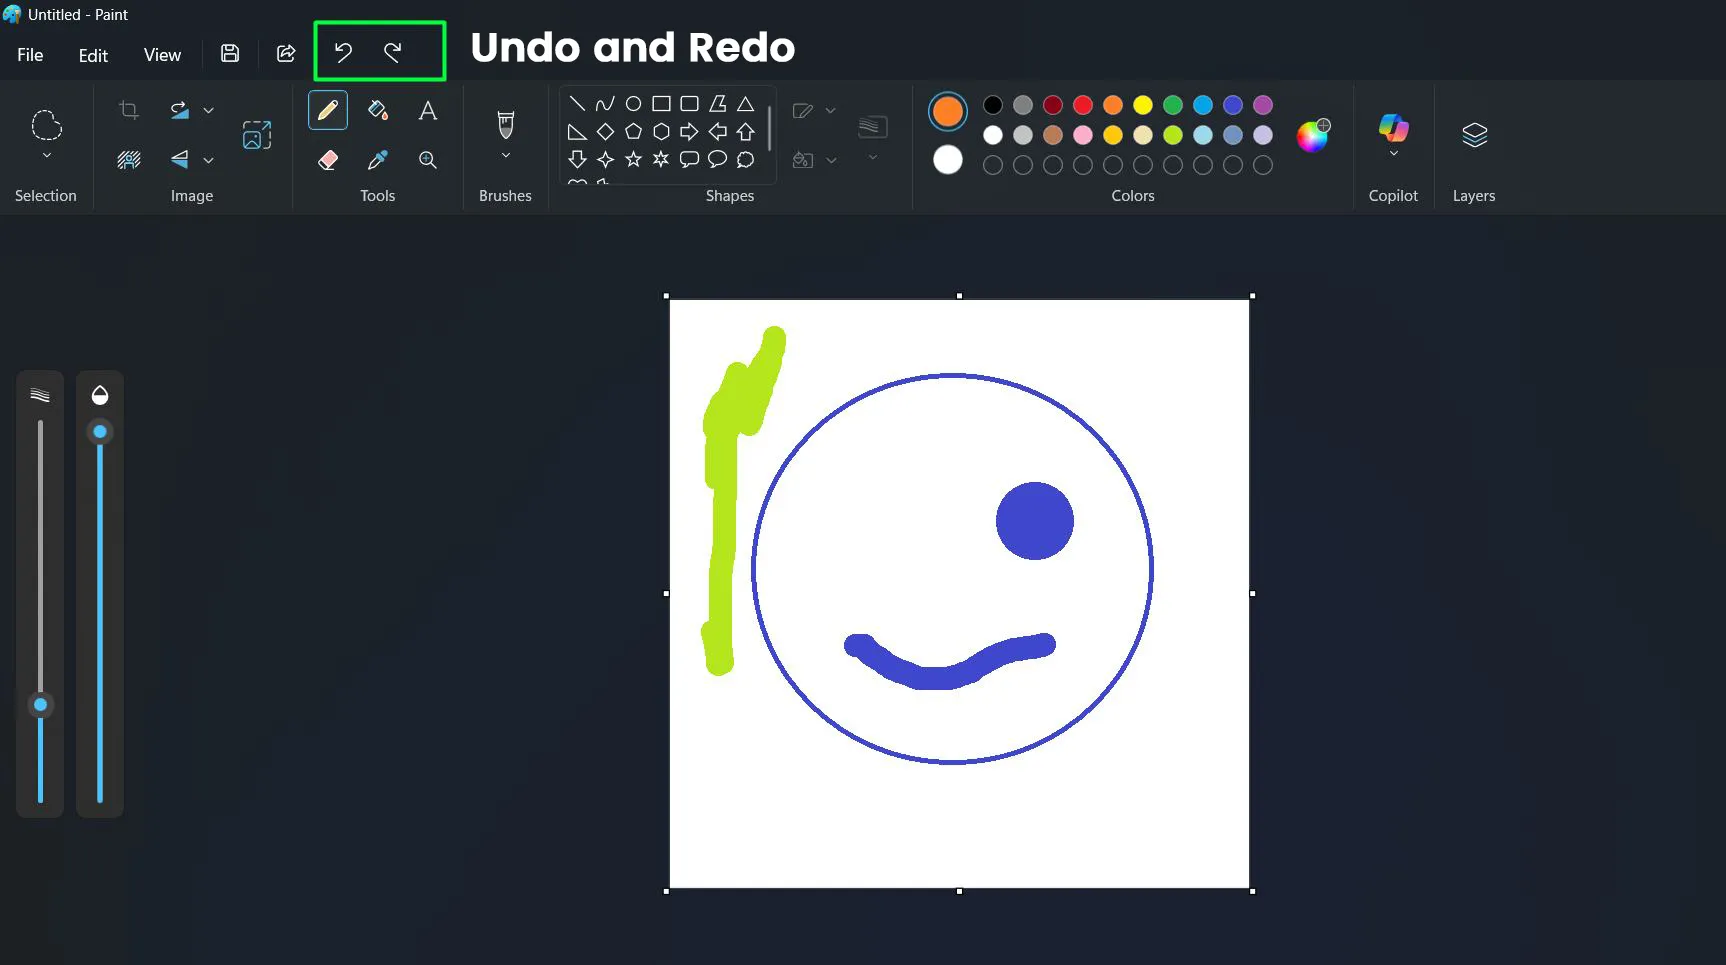
- Press Ctrl+Z to undo the last action
- Press Ctrl+Y to redo an undone action
- Click the curved arrow icons in the top-left for the same functions
Paint stores numerous actions in memory, allowing multiple consecutive undos. The history clears when closing the file, so saving important versions prevents losing work.
Image Rotation and Flipping
Adjusting image orientation happens frequently with photos and scanned documents. Paint handles these transformations through the Rotate menu.
- Click the Rotate button on the Home tab
- Choose Rotate right 90° for clockwise rotation
- Select Rotate left 90° for counterclockwise rotation
- Use Rotate 180° to flip the image completely
- Choose Flip vertical to mirror top and bottom
- Select Flip horizontal to mirror left and right
Fill Tool for Quick Coloring
Large areas benefit from the fill bucket rather than manual painting. This tool floods connected areas with the selected color instantly.
- Select the Fill tool (paint bucket icon) from the Home tab
- Choose the desired fill color from the Colors palette
- Click inside any enclosed area
- The entire connected region fills with the selected color
The fill tool only works on completely enclosed areas. Any gaps in lines allow the fill to leak into surrounding areas, so checking for complete boundaries prevents unwanted fills.
Opening Existing Images for Editing
Editing photos or graphics created elsewhere requires opening files into Paint. The process accommodates various image formats.
- Click File in the top-left corner
- Select Open from the menu
- Navigate to the image location
- Click the image file to select it
- Click Open to load the image into Paint
Alternatively, right-clicking an image file in File Explorer and selecting ‘Edit with Paint’ launches the application with that image already loaded. This shortcut works well when the goal is editing a specific file rather than creating new content.
Canvas Size Adjustment
Sometimes the default canvas needs expansion or reduction to accommodate specific projects. Canvas properties control the working area dimensions.
- Click the File menu in the top-left corner
- Select Image properties (or press Ctrl+E)
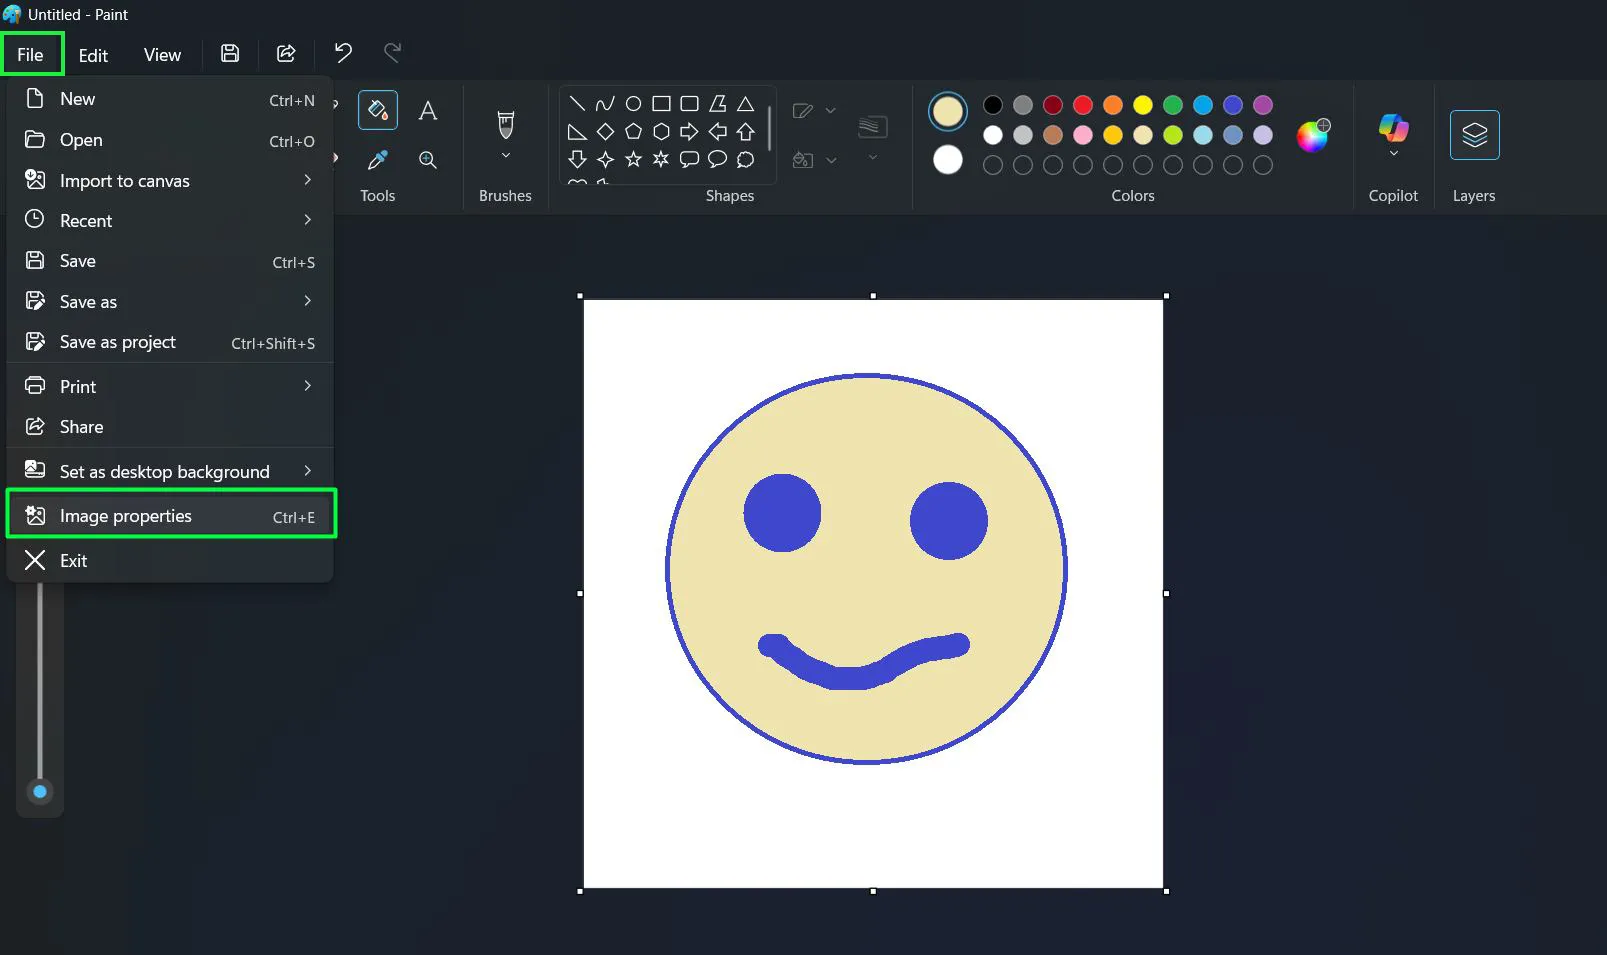
- In the Image Properties dialog box, locate the Image size section
- Enter the desired Width and Height values
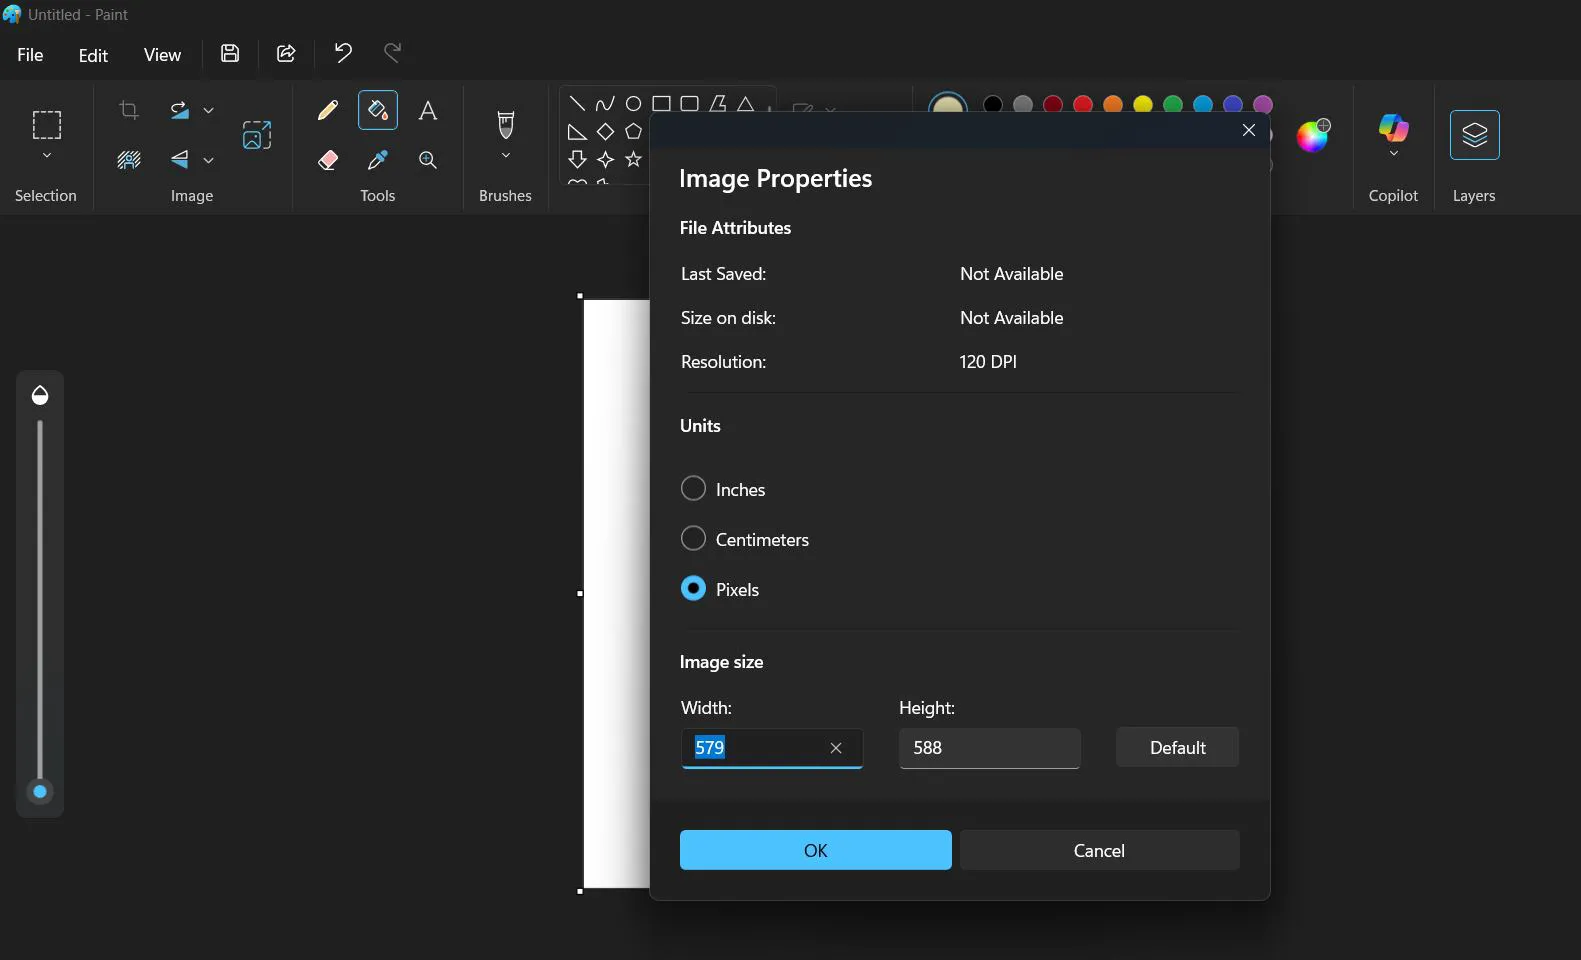
- Choose your preferred Units: Inches, Centimeters, or Pixels
- Click OK to apply the new canvas size, or Cancel to dismiss changes
The dialog also displays file attributes including the last saved date, file size on disk, and current resolution (measured in DPI). The “Default” button restores the original canvas dimensions.
Expanding the canvas adds space around existing content. Reducing it potentially crops the image if new dimensions are smaller than the current content, so checking measurements beforehand prevents accidental loss of image areas.
For more software tips and guides, visit the software section. Additional Windows tutorials are available in the Windows help area.
Frequently Asked Questions
Where is Paint located in Windows 11?
Paint comes pre-installed in Windows 11 and can be found by searching ‘Paint’ in the Start menu search bar. It also appears in the All apps list under alphabetical order, typically in the P section. The application file exists in the Windows Accessories folder within the system.
Can Paint in Windows 11 handle transparent backgrounds?
Paint supports transparency when saving images as PNG format. To maintain transparency, any areas left as the canvas background will become transparent in the saved PNG file. This feature works best when creating graphics that need to overlay other images without rectangular backgrounds.
How do you change the brush size in Windows 11 Paint?
After selecting any drawing tool like the brush or pencil, the Size dropdown menu appears in the Home tab. Clicking this dropdown reveals various thickness options ranging from very thin to quite thick. Selecting any option immediately changes the tool size for subsequent strokes.
What file formats does Paint in Windows 11 support?
Paint can open and save multiple formats including PNG, JPEG, BMP, GIF, and TIFF files. When saving through the ‘Save As’ dialog, the format dropdown menu displays all available options. Each format serves different purposes, with PNG offering the best balance between quality and file size for most general uses.
Can text be edited after placement in Paint?
Text remains editable only while the text box stays active and selected. Once the canvas is clicked outside the text box, the text becomes part of the image permanently and cannot be modified as text anymore. Planning text content and formatting before finalizing placement prevents the need to undo and recreate text elements.
How do you make a transparent selection in Paint?
After making any selection with the selection tools, clicking the ‘Transparent selection’ checkbox in the Image group removes the white background from the selected area when it’s moved or pasted. This feature helps when combining multiple elements without visible rectangular backgrounds around each piece.