Key Takeaways
- Enabling Fast Startup is one of the quickest wins – takes under 2 minutes
- Disabling unnecessary startup programs is the most impactful fix for slow boots
- Adjusting your power plan and virtual memory can shave several seconds off boot time
- Keeping Windows 11 updated and the drive healthy ensures long-term boot speed
- Most laptops see noticeable improvement after applying just 2 to 3 of these steps
A slow boot is one of the most frustrating things about using a laptop day-to-day. You open the lid, press the power button, and then just… wait. If that sounds familiar, the good news is that Windows 11 gives users several straightforward ways to improve laptop boot performance without needing any special tools or technical background. This guide walks through each method clearly, step by step, so anyone can follow along and get results fast.
Enable Fast Startup in Windows 11
Fast Startup is a built-in Windows 11 feature that combines elements of a full shutdown with hibernation. When enabled, the system saves a snapshot of the Windows kernel to the hard drive, which allows it to load much faster on the next boot. Most people find that turning this on alone knocks several seconds off startup time.
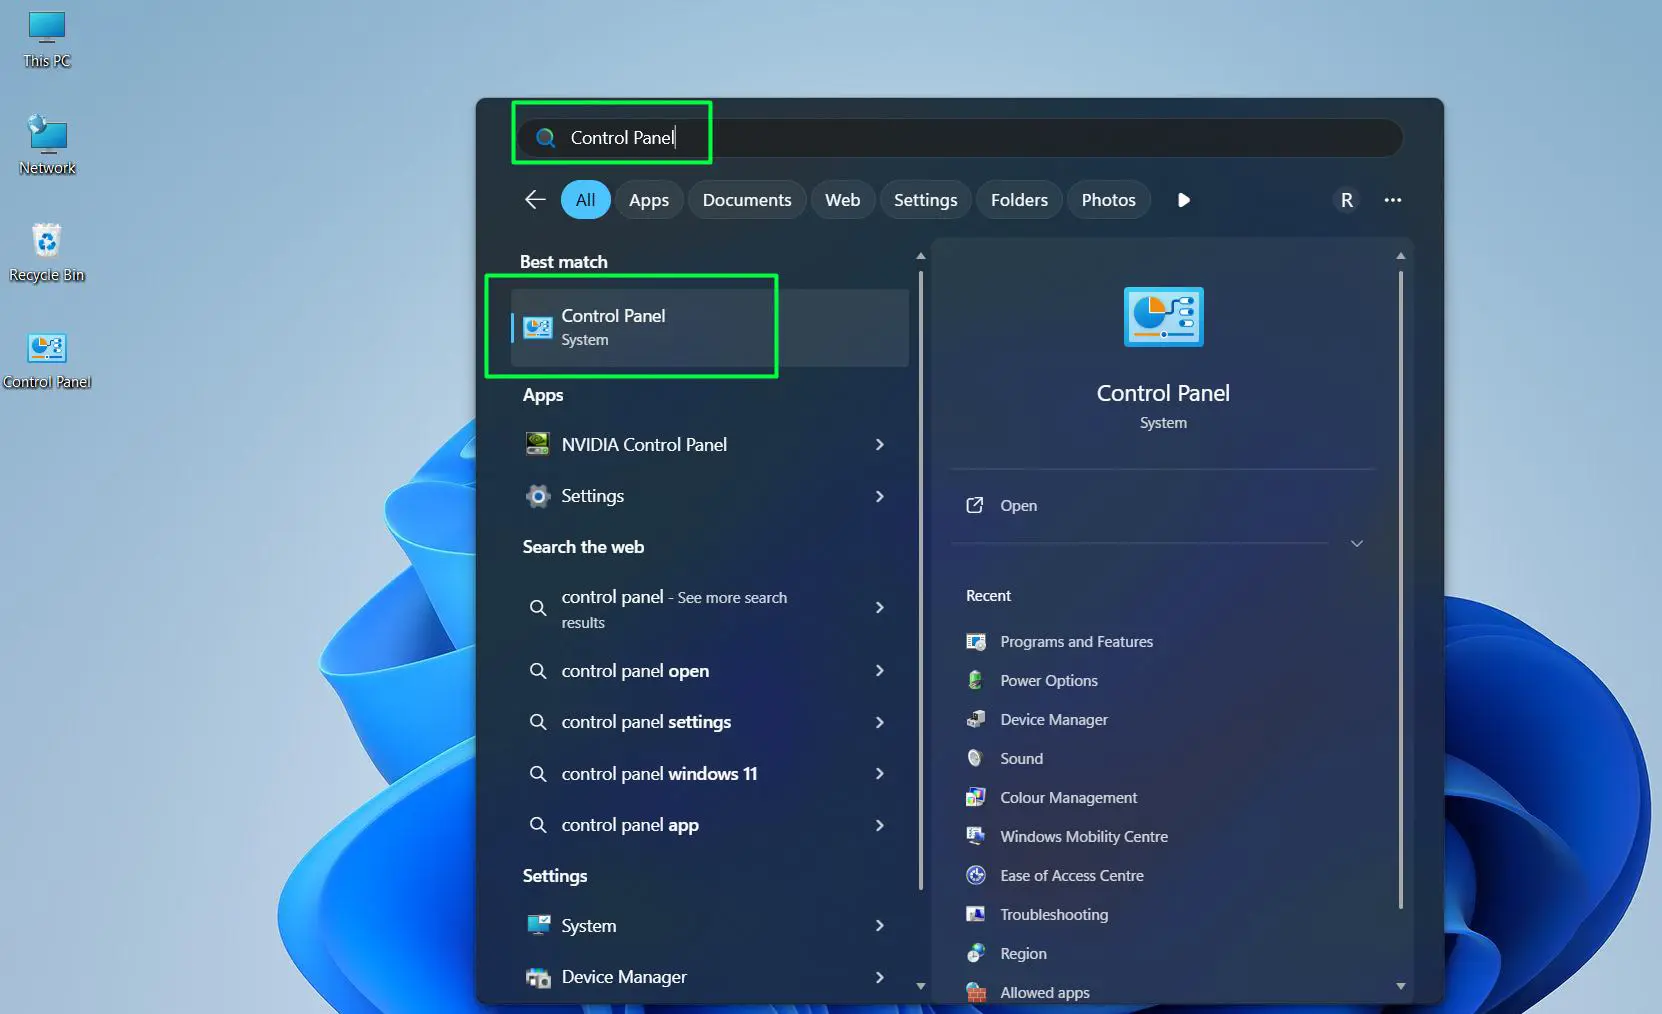
- Step 1: Click the Start menu and open Control Panel (search for it if needed)
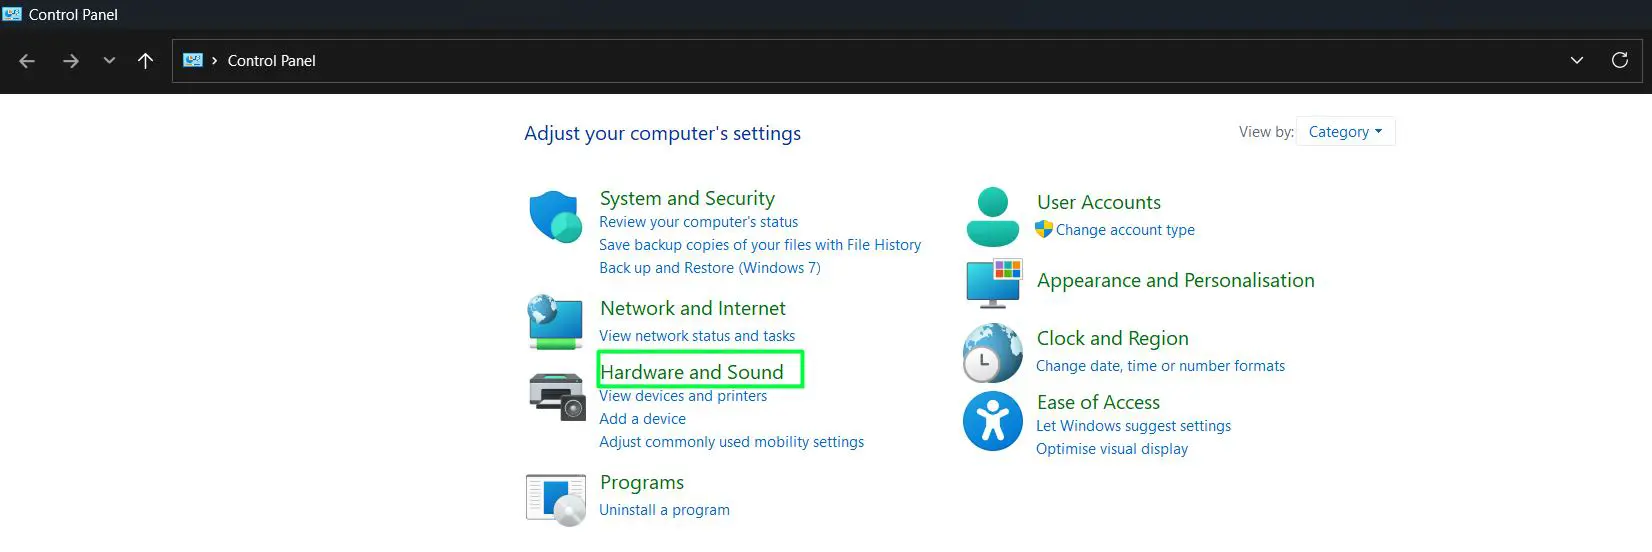
- Step 2: Click Hardware and Sound
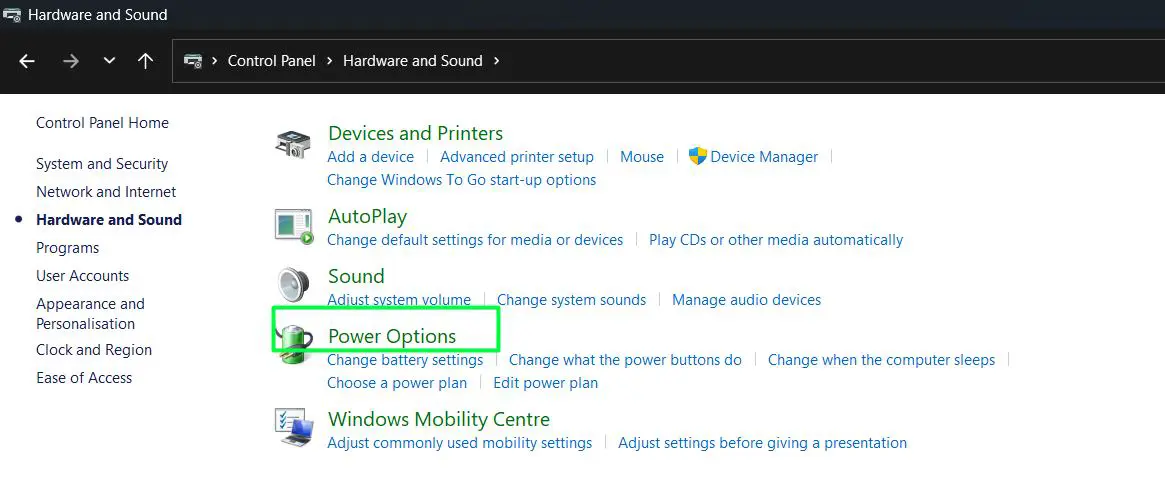
- Step 3: Select Power Options
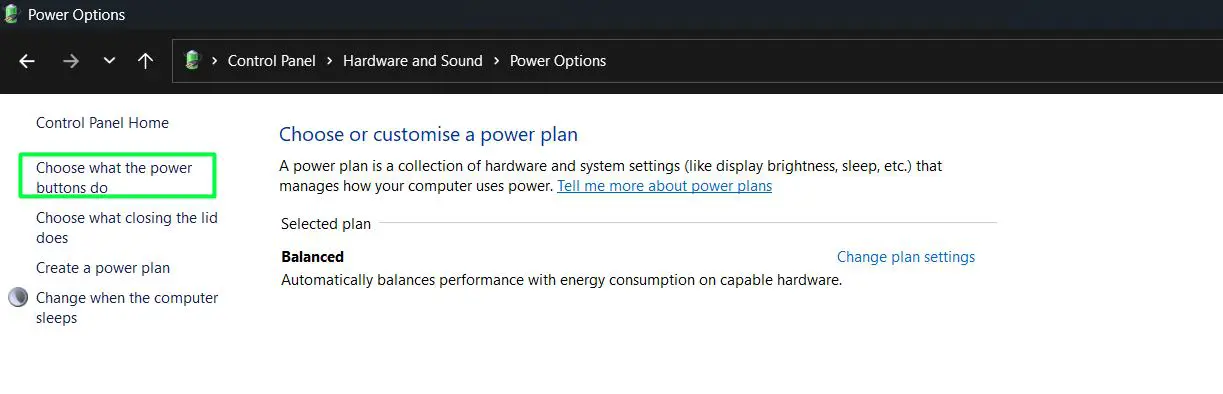
- Step 4: On the left side, click Choose what the power buttons do
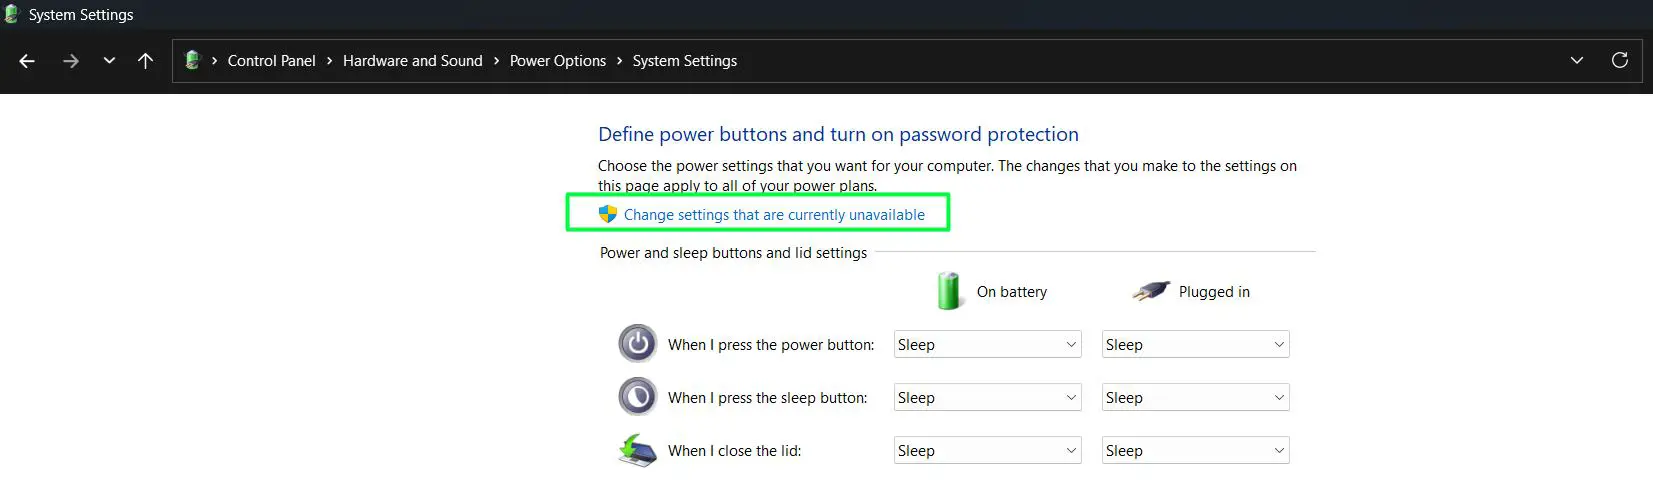
- Step 5: Click Change settings that are currently unavailable
- Step 6: Under ‘Shutdown settings’, check the box next to Turn on fast startup (recommended)
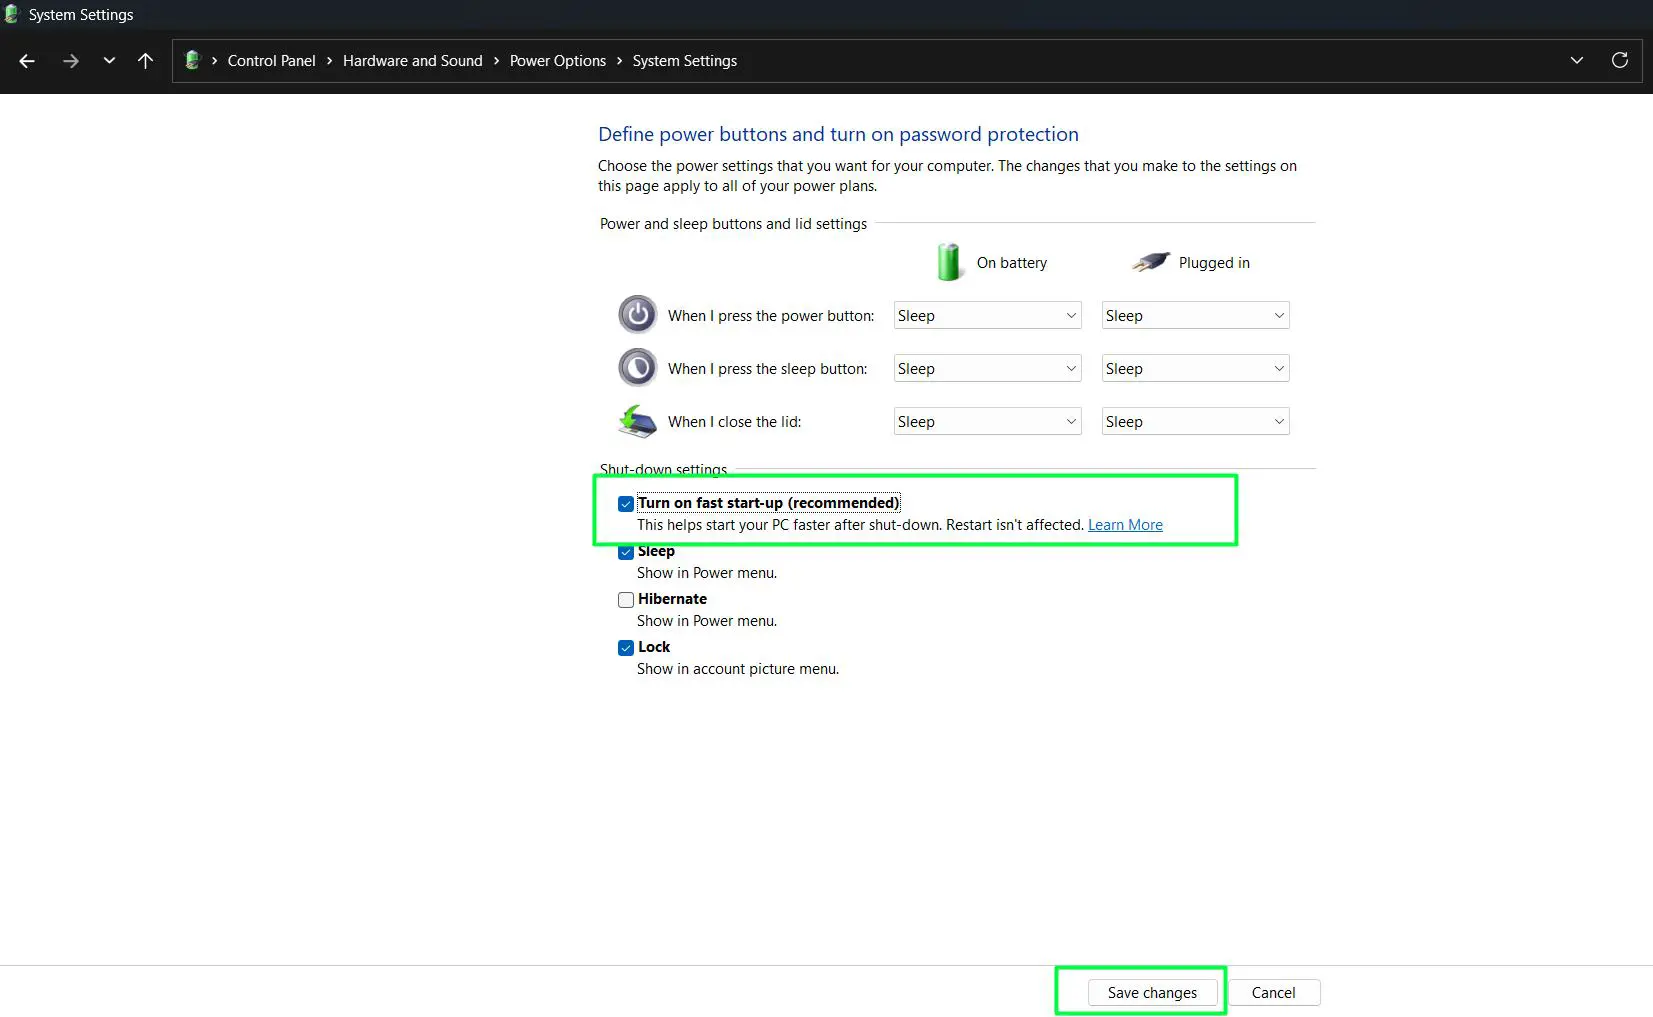
- Step 7: Click Save changes and restart the laptop
This works best on laptops with a traditional HDD or a budget SSD. On high-end NVMe drives the difference may be smaller, but it is still worth enabling.
Disable Unnecessary Startup Programs
Every app that launches at startup takes a slice of system resources during boot. Over time, many apps quietly add themselves to this list – things like Spotify, Discord, Teams, OneDrive, and various updater utilities. Cutting this list down is often the single biggest improvement a user can make.
Watch this tutorial: Improve Laptop Boot Performance on Windows 11 by Disabling Unnecessary Startup Programs
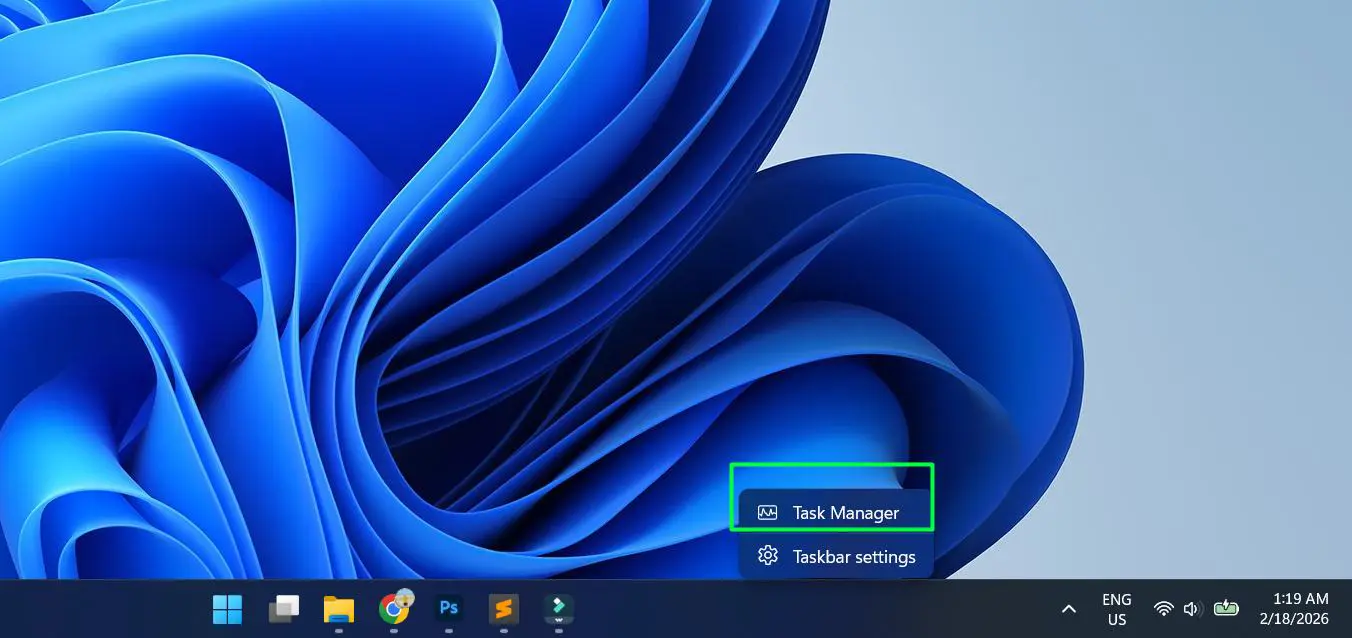
- Step 1: Right-click the taskbar and select Task Manager, or press Ctrl + Shift + Esc
- Step 2: Click the Startup apps tab (in Windows 11 Task Manager)
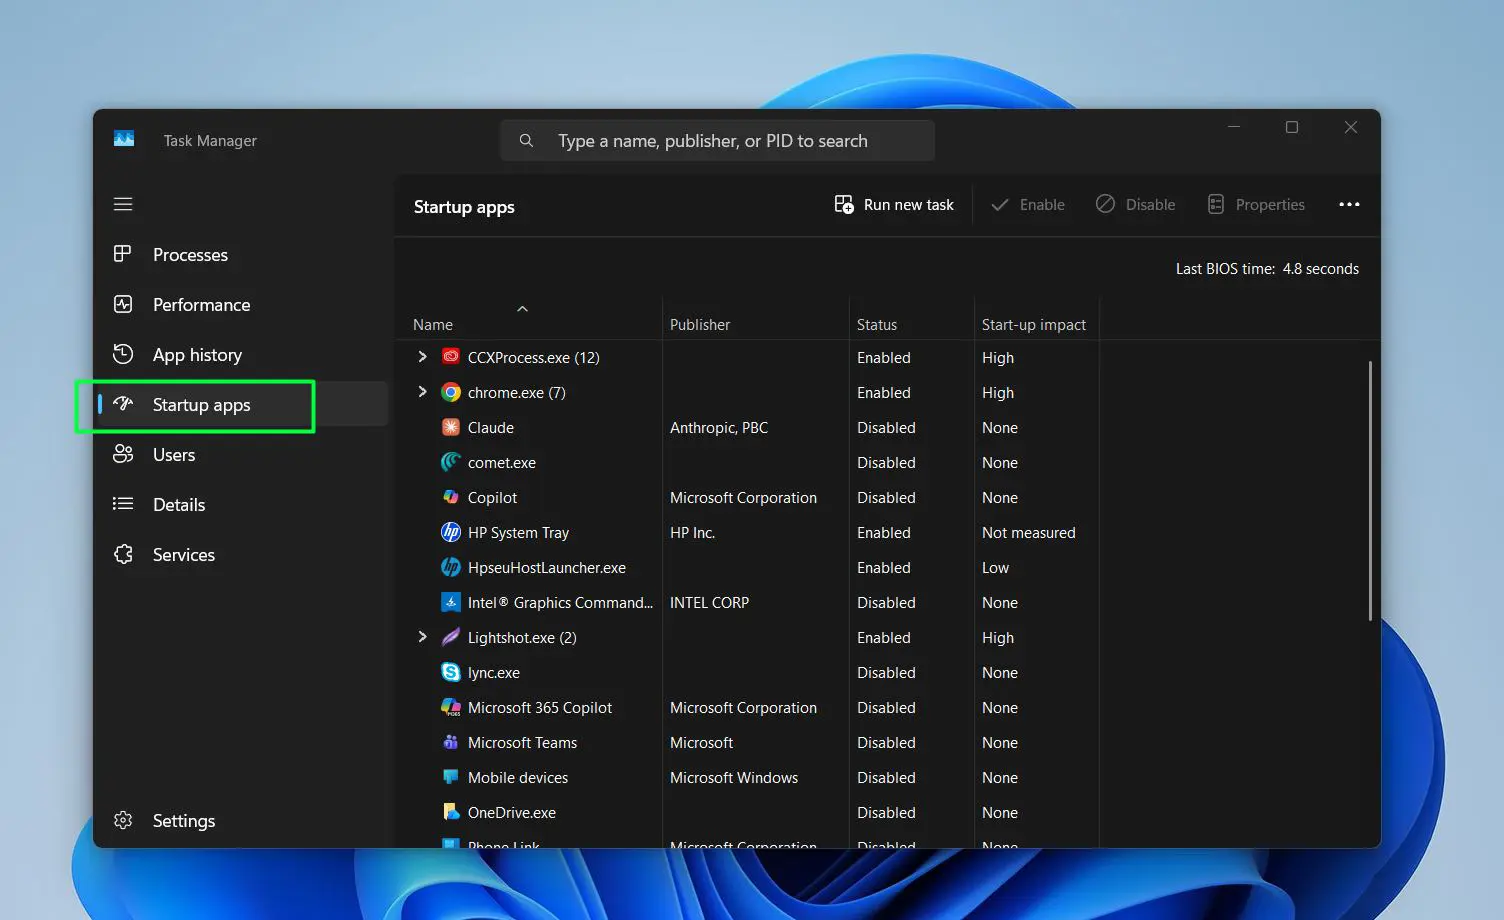
- Step 3: Look at the Startup impact column – focus on items marked ‘High’
- Step 4: Right-click any app that does not need to run at startup and select Disable
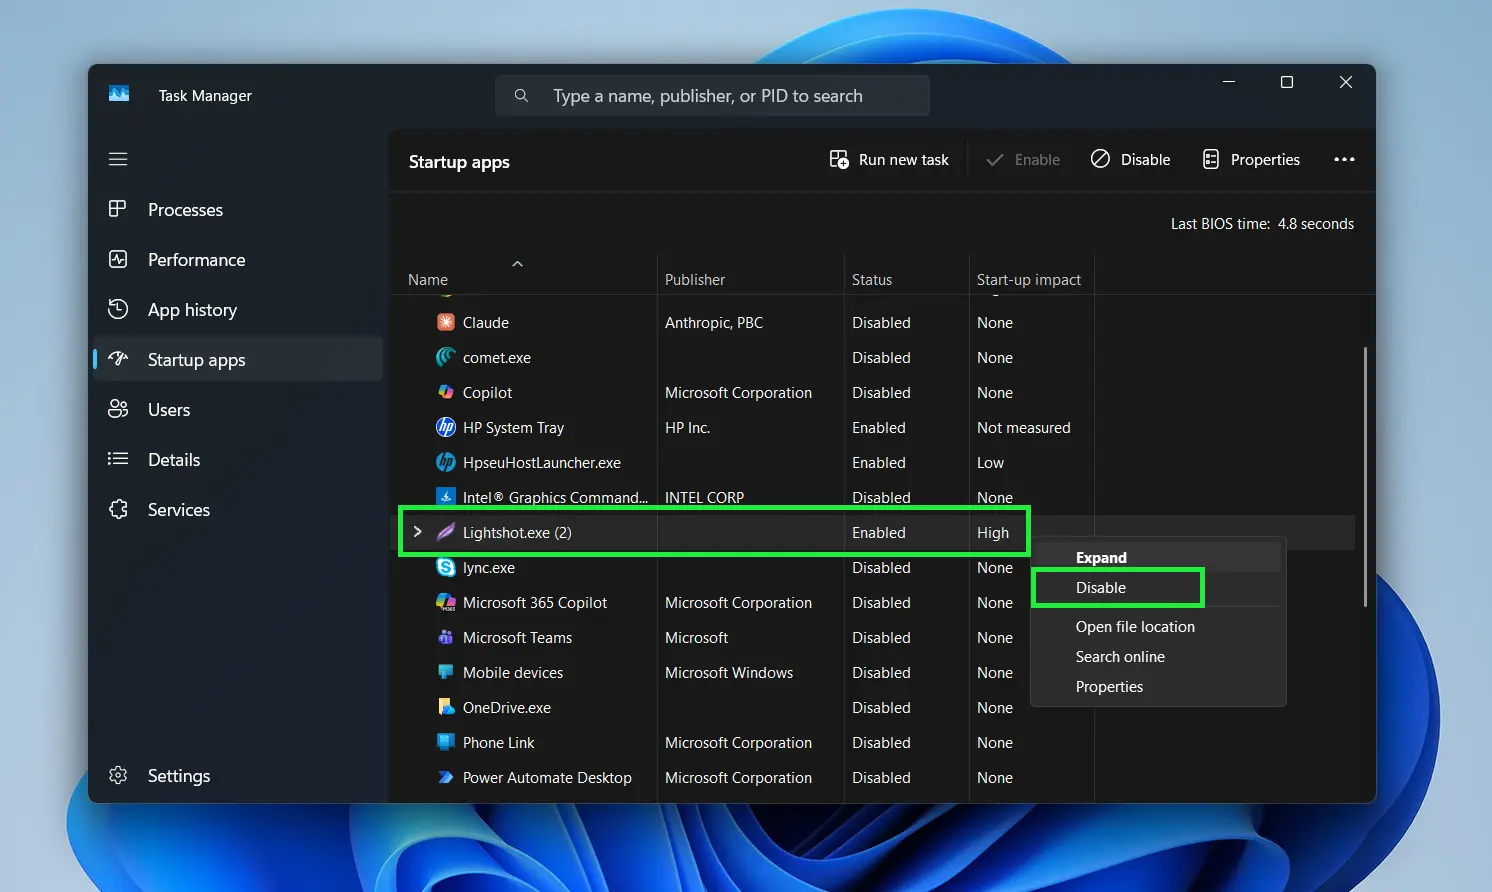
- Step 5: Repeat for all non-essential high-impact apps
- Step 6: Restart the laptop and notice the difference
A good rule of thumb: if an app can be opened manually when needed, it does not need to run at startup. Things like antivirus software and audio drivers can stay – but media players, communication apps, and cloud backup tools often do not need to launch before the desktop even finishes loading.
For more tips on optimizing Windows behavior, the Windows guides on OneWebHelp cover a wide range of performance topics worth bookmarking.
Set Windows Power Plan to High Performance
Windows 11 defaults to a ‘Balanced’ power plan that scales performance based on demand. During boot, this can actually delay how quickly the system ramps up CPU speed. Switching to High Performance mode tells the hardware to run at full capacity right from the start.
- Step 1: Click the Start icon then Select ‘Settings’ from the pinned apps or type ‘settings’ in the search box

- Step 2: Go to System, then click Power and battery

- Step 3: Click the dropdown next to Power mode and Select Best Performance from the list
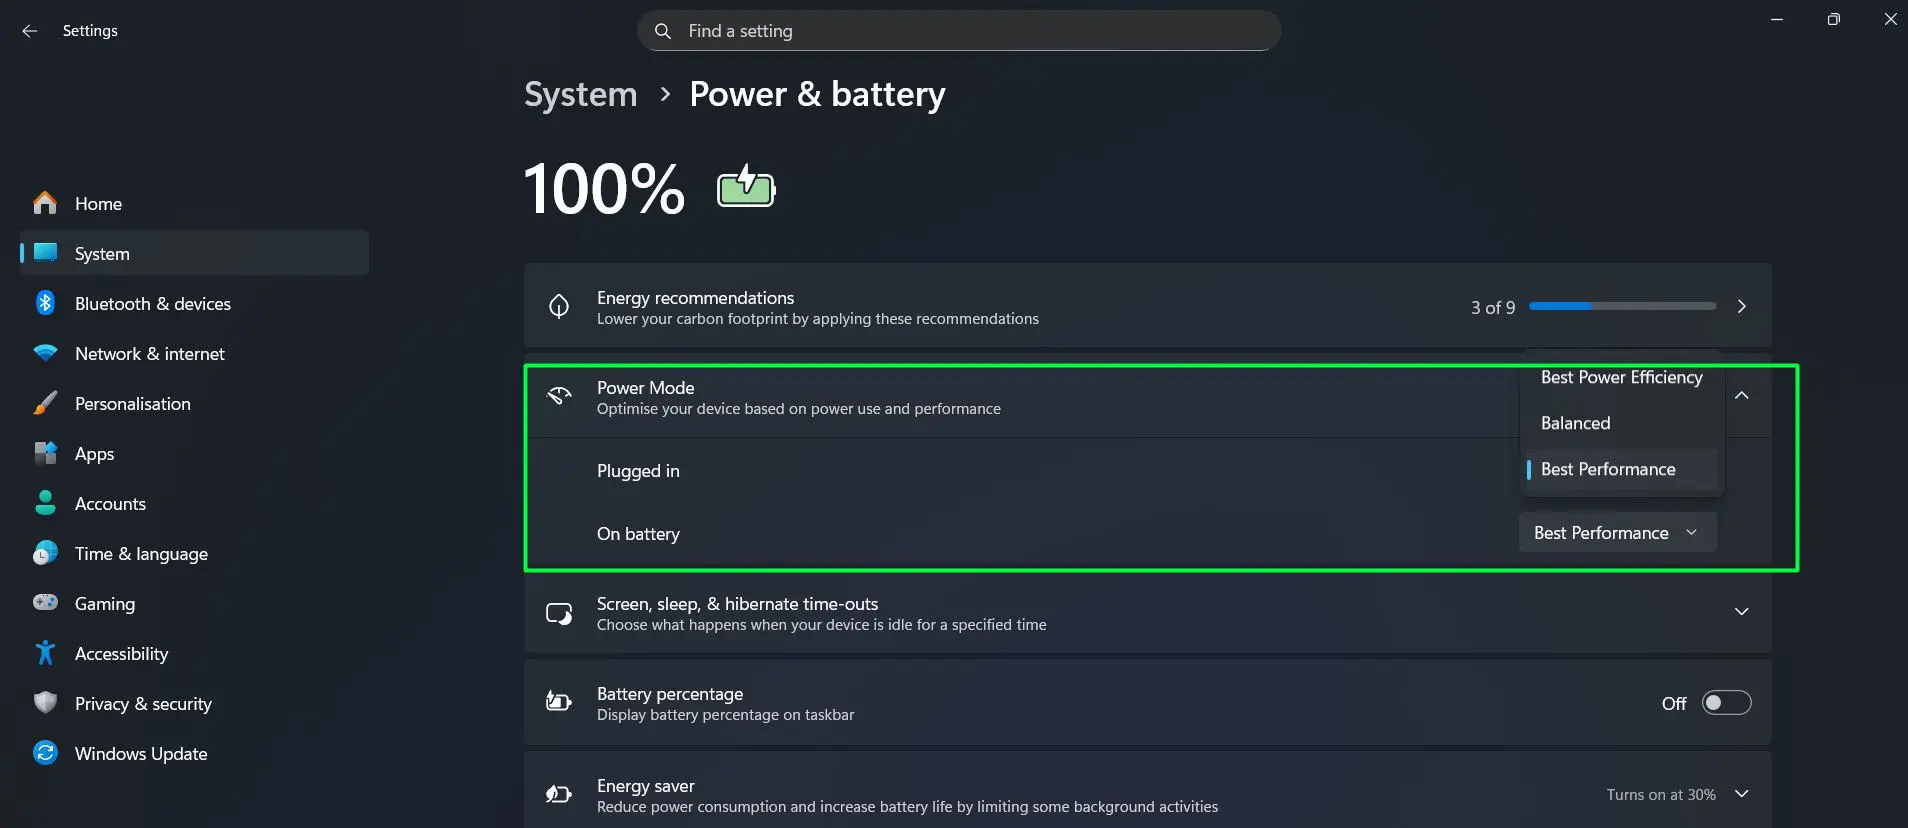
Keep in mind this setting reduces battery life slightly since the CPU stays at higher clock speeds. On a laptop plugged into power most of the time, this is a non-issue. For users primarily on battery, consider switching back to ‘Balanced’ when away from the charger.
Adjust Virtual Memory Settings
Virtual memory acts as overflow storage when physical RAM gets full. If Windows is managing this automatically and the settings are not optimized, it can create a bottleneck during boot. Setting a fixed virtual memory size removes the overhead of Windows constantly resizing the paging file.
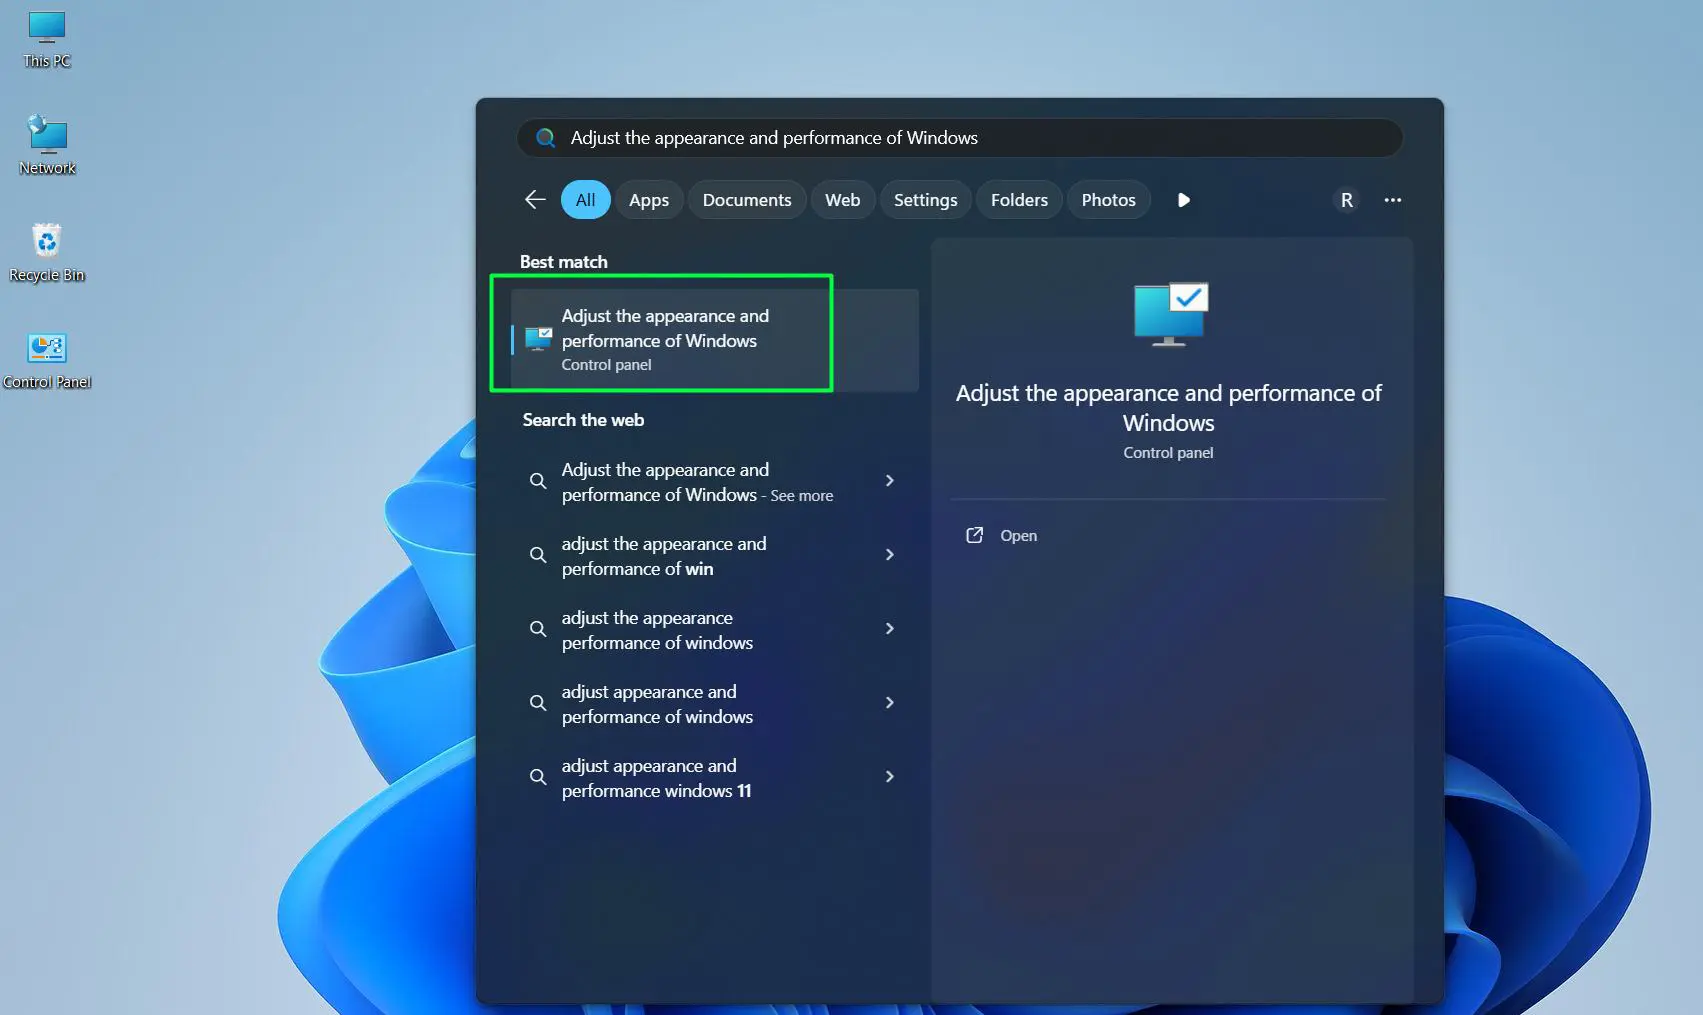
- Step 1: Press Win + S and search for Adjust the appearance and performance of Windows
- Step 2: Click the Advanced tab, then under ‘Virtual memory’ click Change
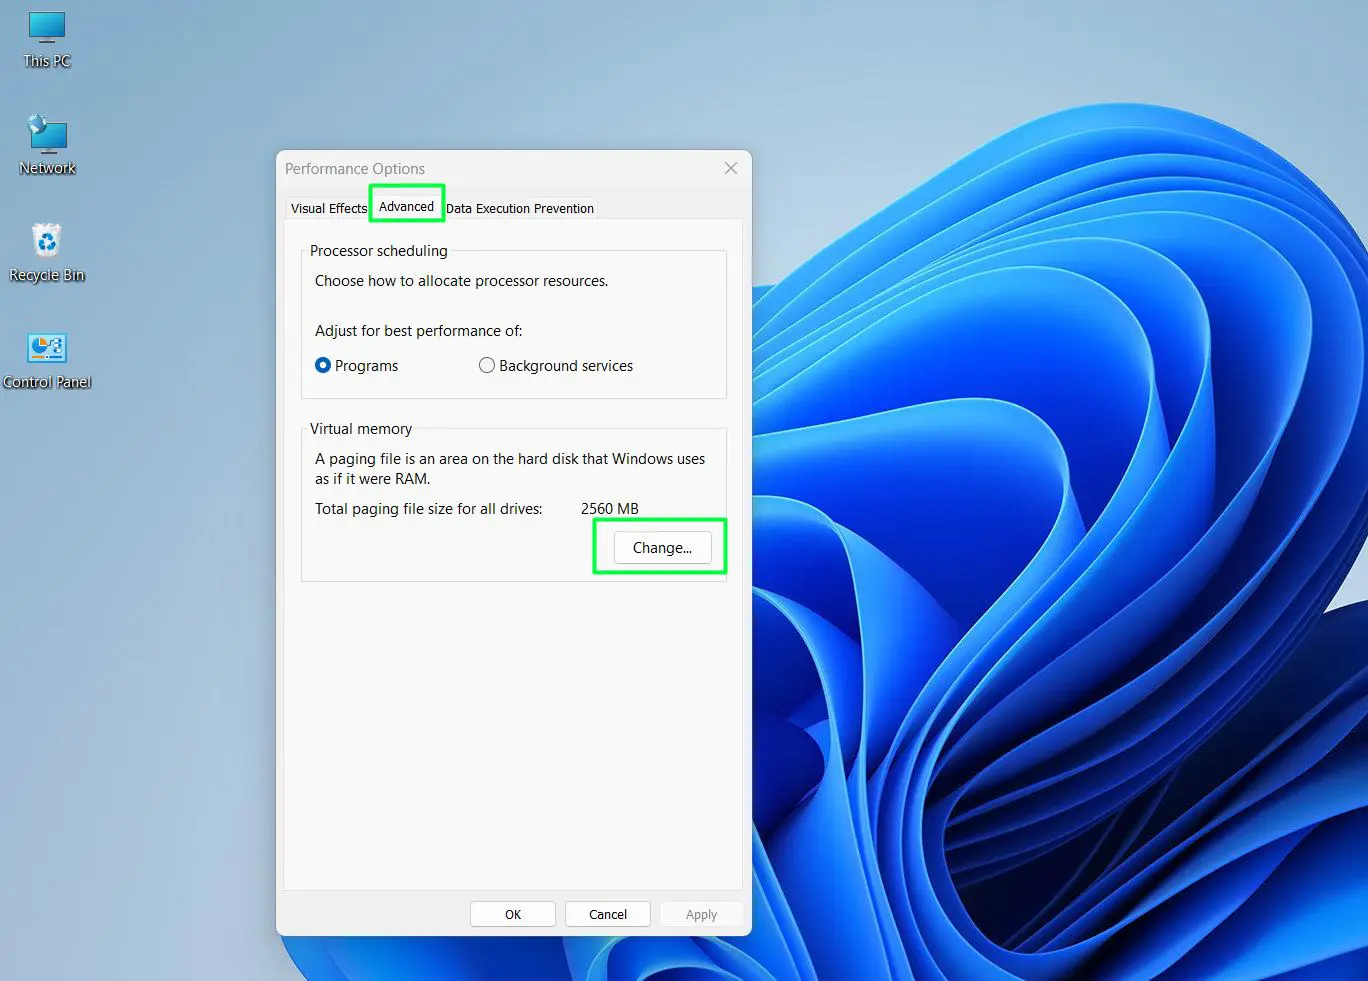
- Step 3: Uncheck Automatically manage paging file size for all drives

- Step 4: Select the system drive (usually C:) and choose Custom size
- Step 5: Set Initial size to 1x the amount of RAM (e.g., 8192 MB for 8 GB RAM) and Maximum size to 2x RAM (e.g., 16384 MB for 8 GB RAM)
– Maximum must always be higher than Initial
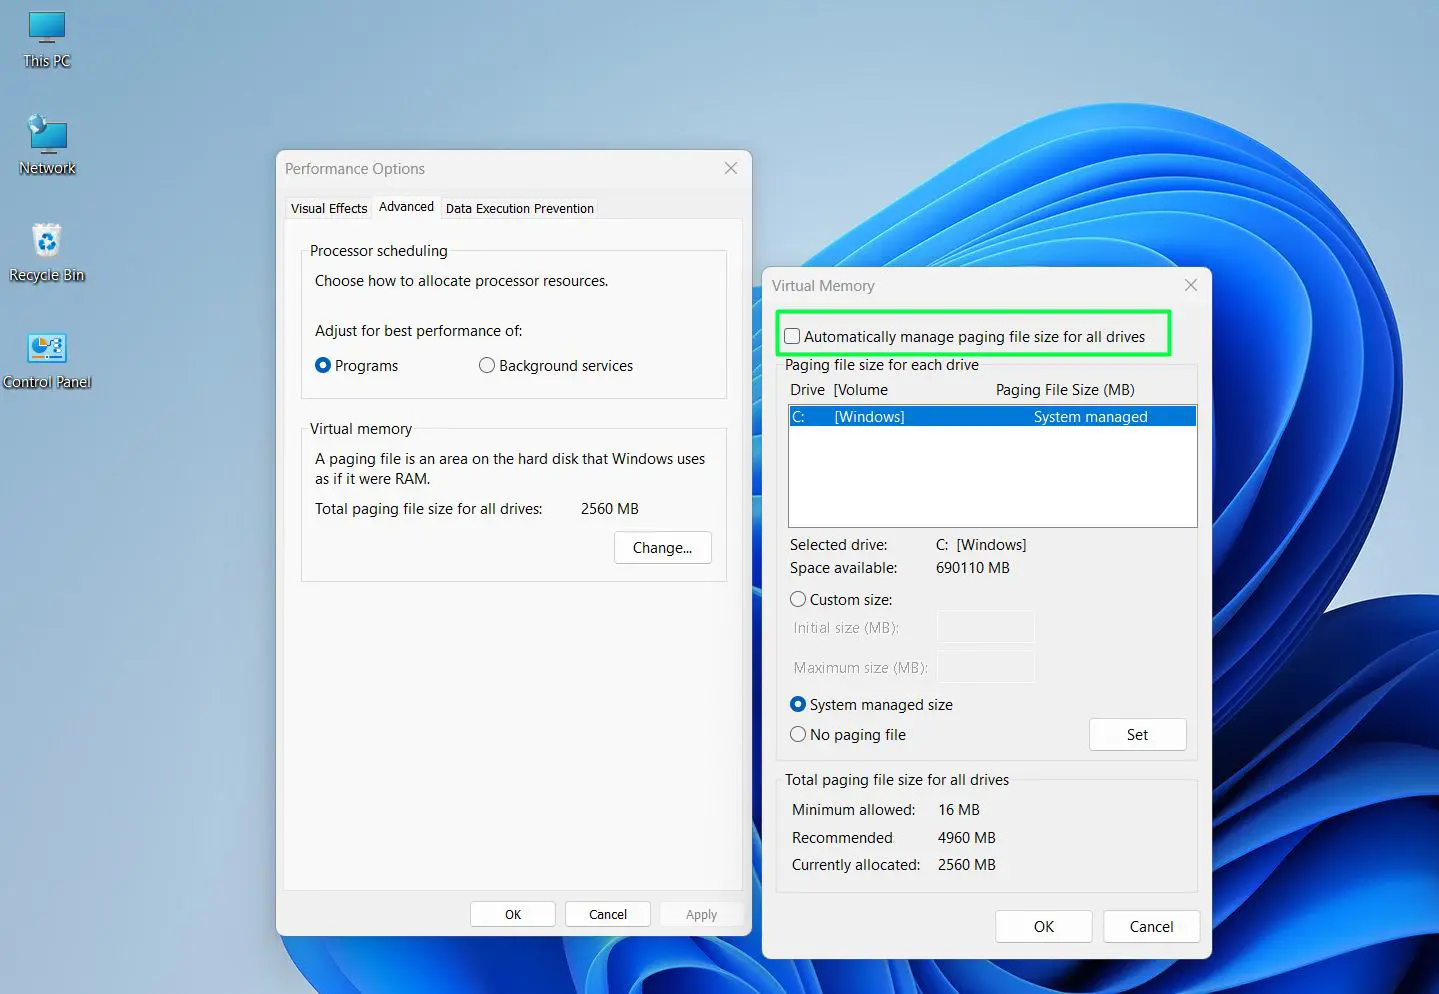
- Step 6: Click Set, then OK, and restart the laptop
This works best when the laptop has 8 GB of RAM or less. On systems with 16 GB or more, Windows usually handles this well on its own, but fixing the size still prevents any unnecessary resizing activity on boot.
Run Disk Cleanup and Keep the Drive Healthy
Clutter on a drive – temporary files, old update caches, leftover installation data – can slow down read speeds during boot. A quick cleanup helps the operating system find what it needs faster.
- Step 1: Press Win + S and search for Disk Cleanup
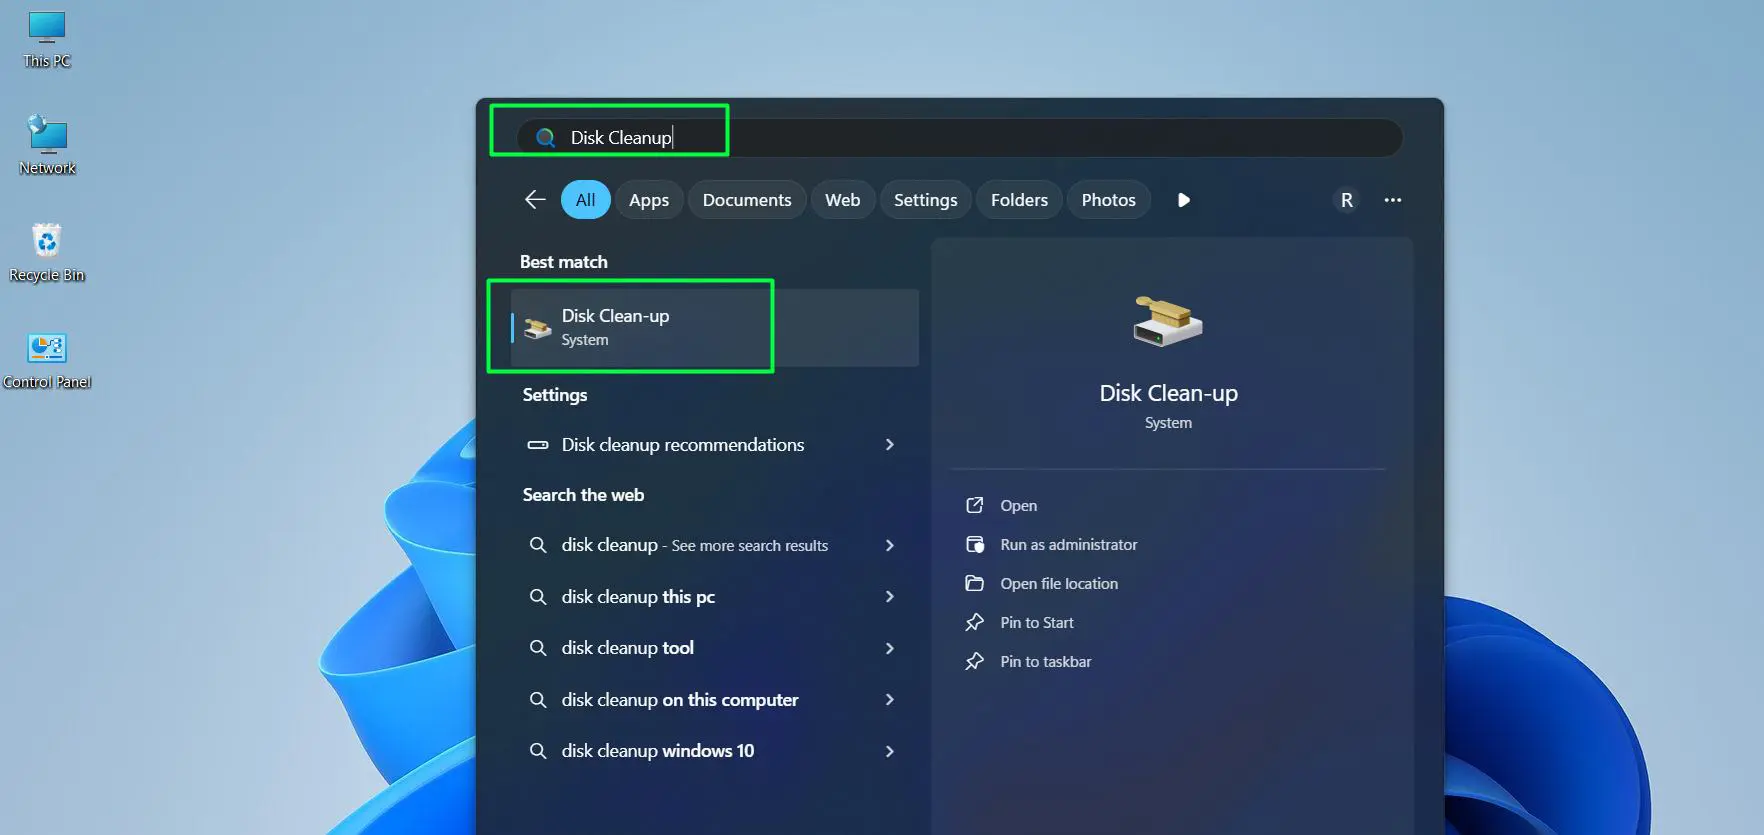
- Step 2: Select the system drive (C:) and click OK
- Step 3: Check all boxes, especially Temporary files and Temporary Internet Files
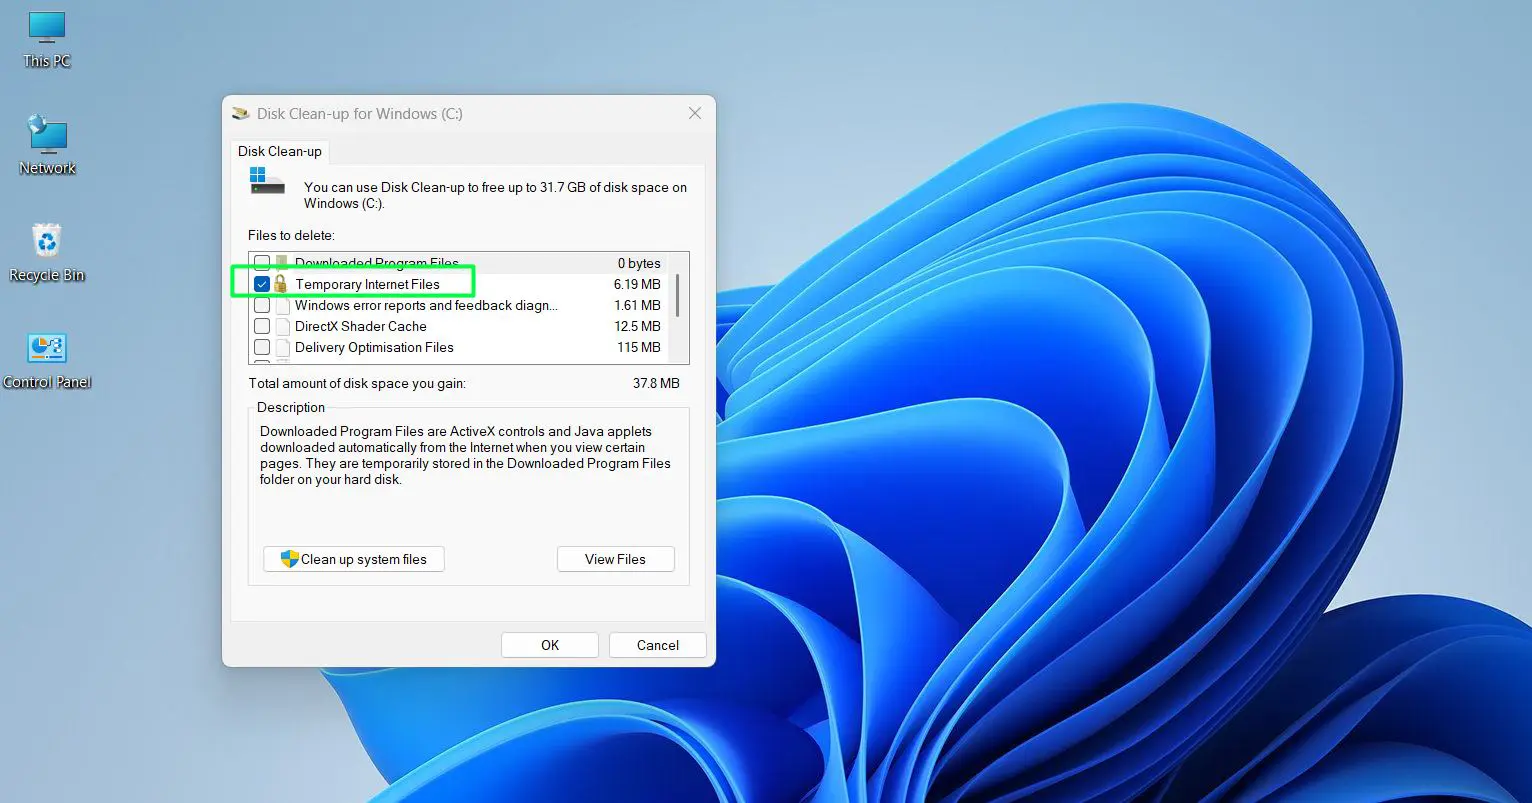
- Step 4: Click Clean up system files for a deeper clean, select the drive again, and check all boxes
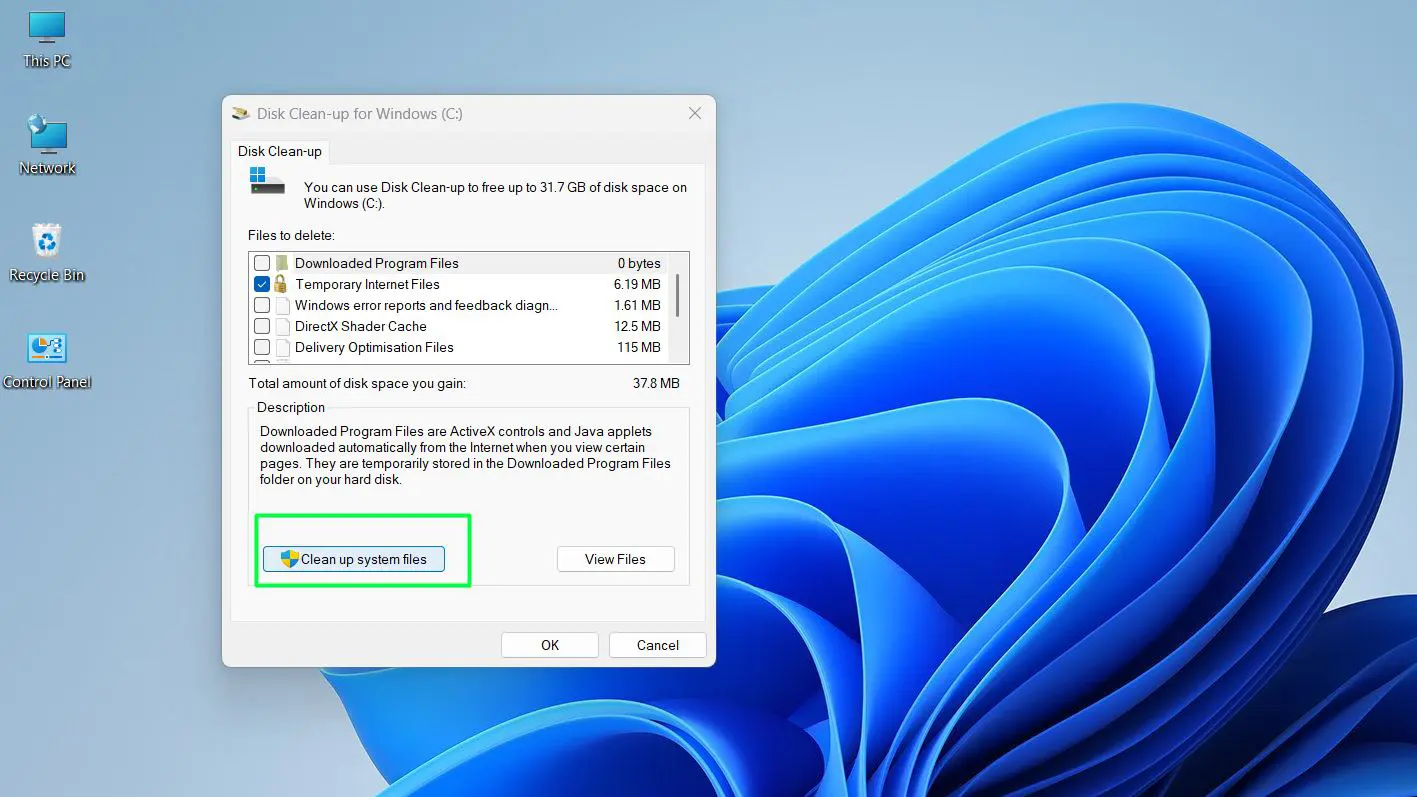
- Step 5: Click OK and let the process complete
If the laptop runs on an HDD (not an SSD), also run a defragmentation afterward. Go to Defragment and Optimize Drives (searchable from the Start menu), select the HDD, and click Optimize. Never defragment an SSD – Windows handles SSD optimization (TRIM) automatically.
For users curious about whether a hardware upgrade could help even more, the hardware section on OneWebHelp has helpful guidance on RAM and storage upgrades that can make a real difference in boot times.
Keep Windows 11 Updated
Microsoft regularly releases updates that include performance improvements, bug fixes, and optimizations to the boot process itself. Running an outdated version of Windows 11 can mean missing out on real-world boot speed gains.
- Step 1: Open Settings by pressing Win + I
- Step 2: Click Windows Update in the left sidebar and Select Check for updates
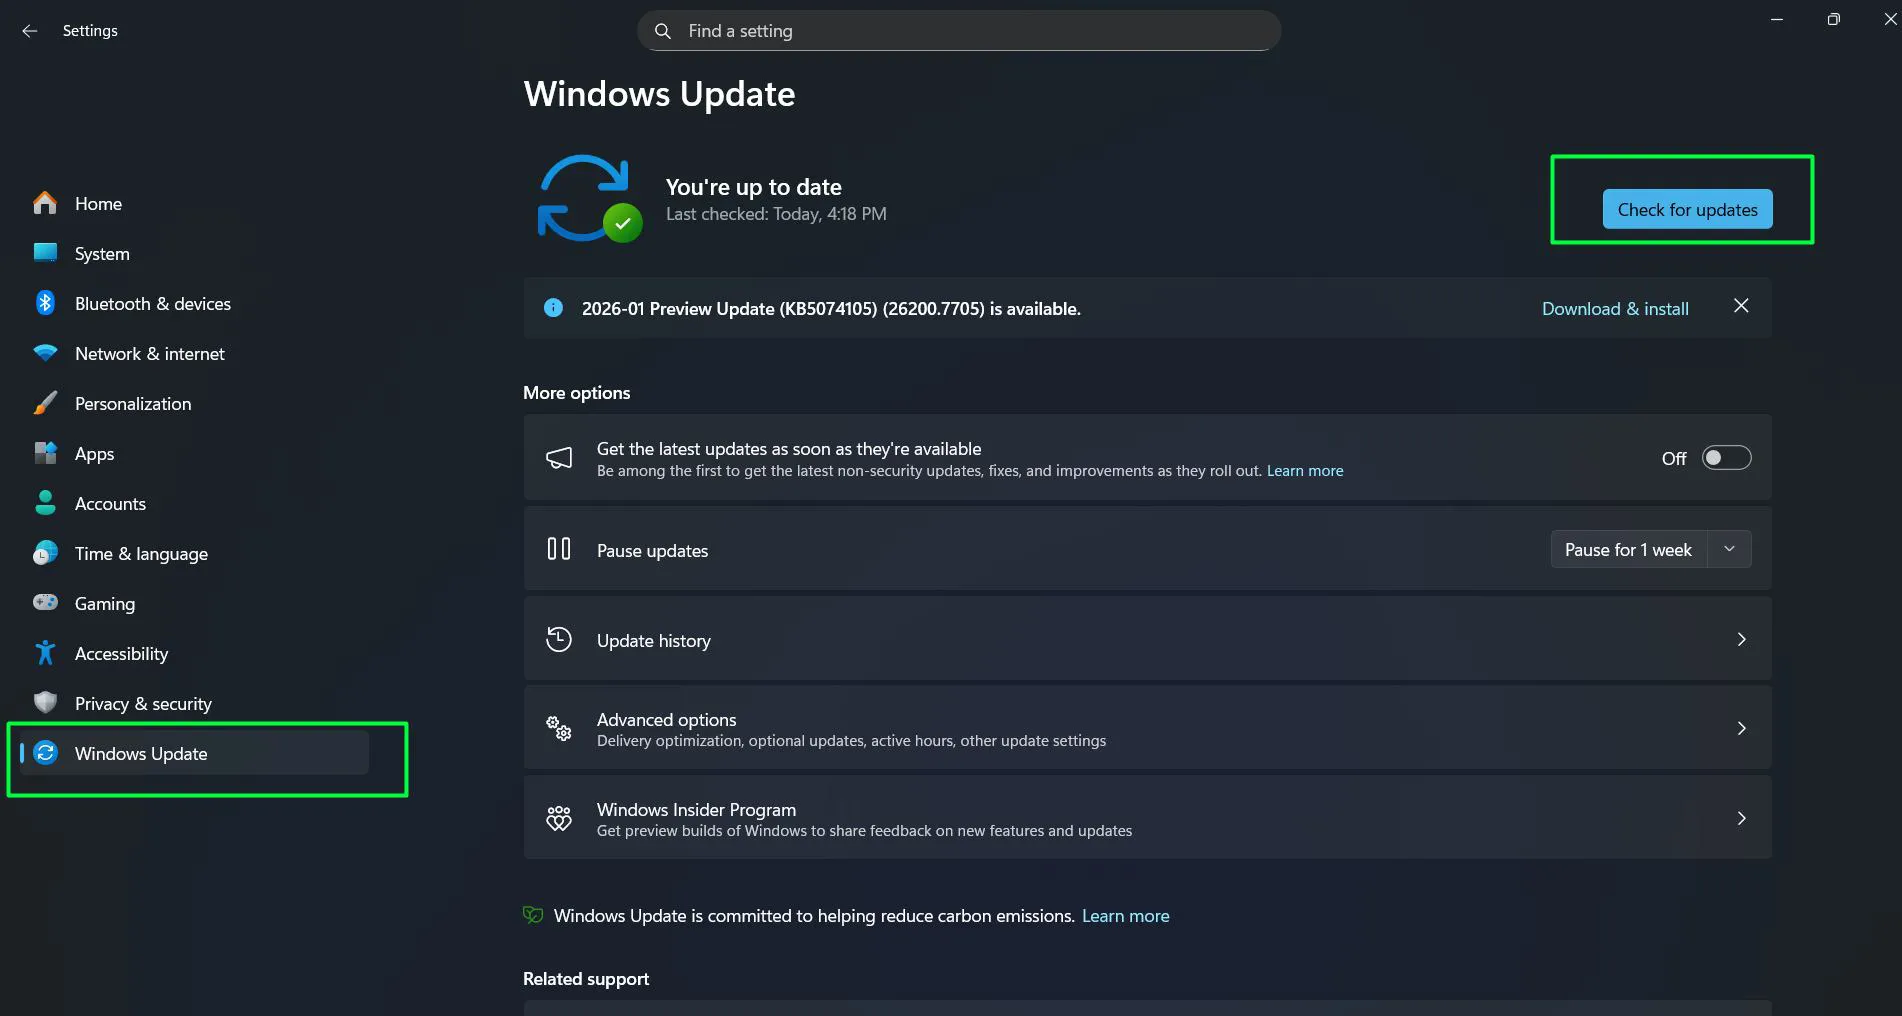
- Step 4: Install any available updates and restart when prompted
After major feature updates, Windows 11 often runs a background optimization task that can temporarily slow down the first few boots. This is normal and resolves on its own within a day or two.
Disable Visual Effects for Faster Boot and Startup
Windows 11 comes loaded with animations and visual effects that make it look polished but add load time during startup. Reducing or disabling these lets the system allocate resources to the things that matter during boot.
- Step 1: Search for Adjust the appearance and performance of Windows and open it
- Step 2: Select Adjust for best performance to disable all visual effects, or choose Custom to keep a few
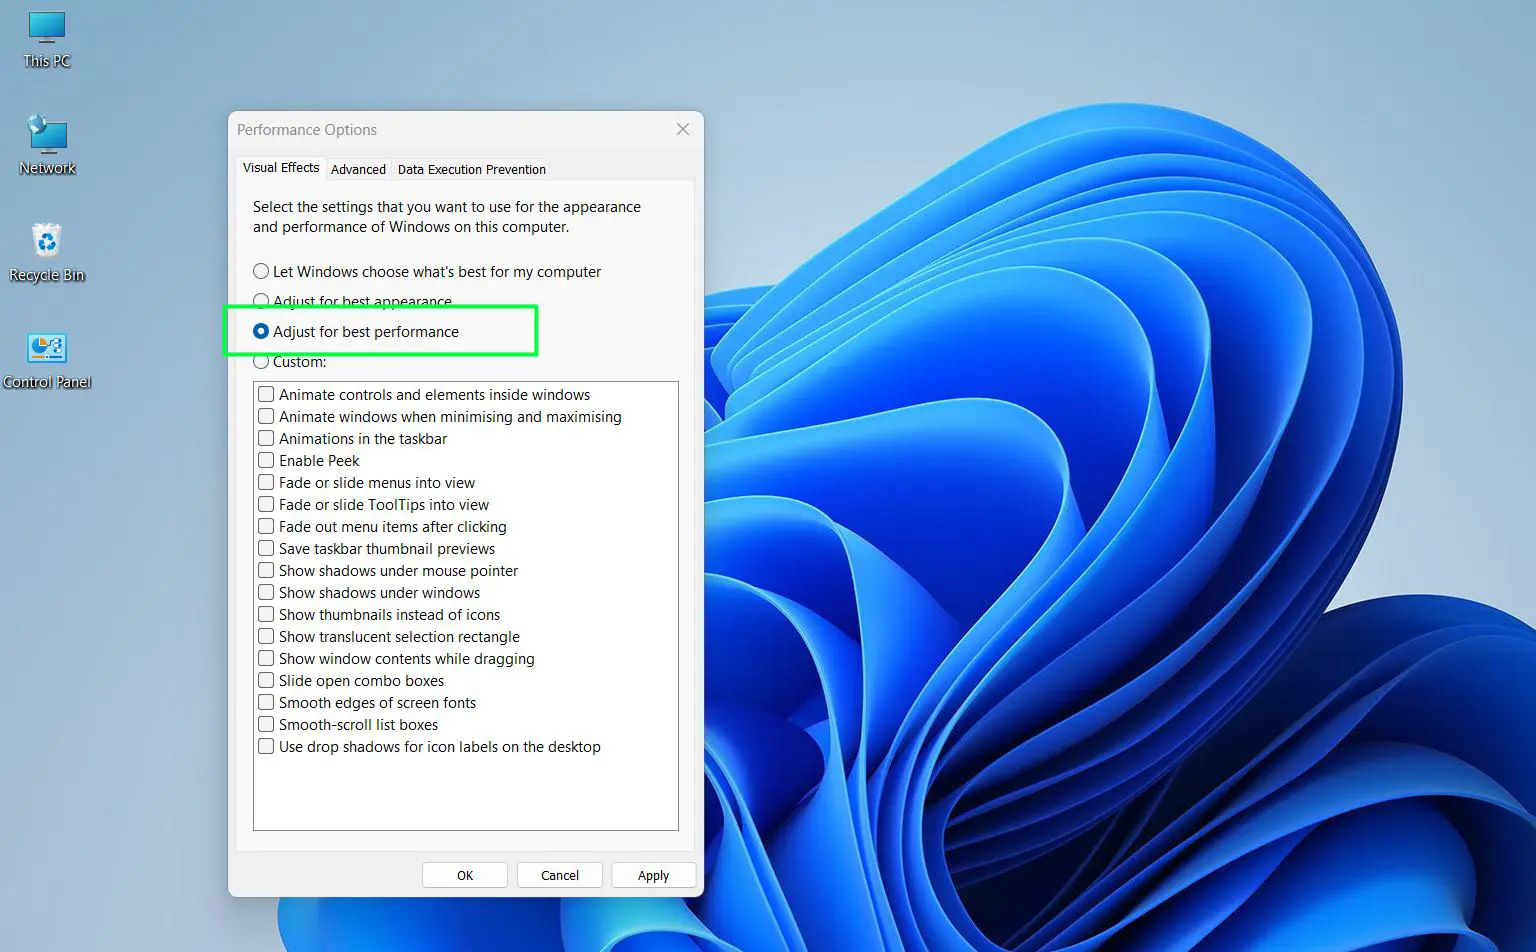
- Step 3: If using Custom, keep ‘Smooth edges of screen fonts’ and ‘Show thumbnails instead of icons’ checked for a decent balance
- Step 4: Click Apply, then OK
This is especially effective on older laptops with integrated graphics or limited RAM. The visual trade-off is minimal, and the performance gain during both boot and general use can be noticeable.
Pro-Tip: Disabling startup programs and enabling Fast Startup together give the fastest combined result. If only one step is done, make it disabling startup apps – it is consistently the most impactful change for most Windows 11 laptops regardless of specs.
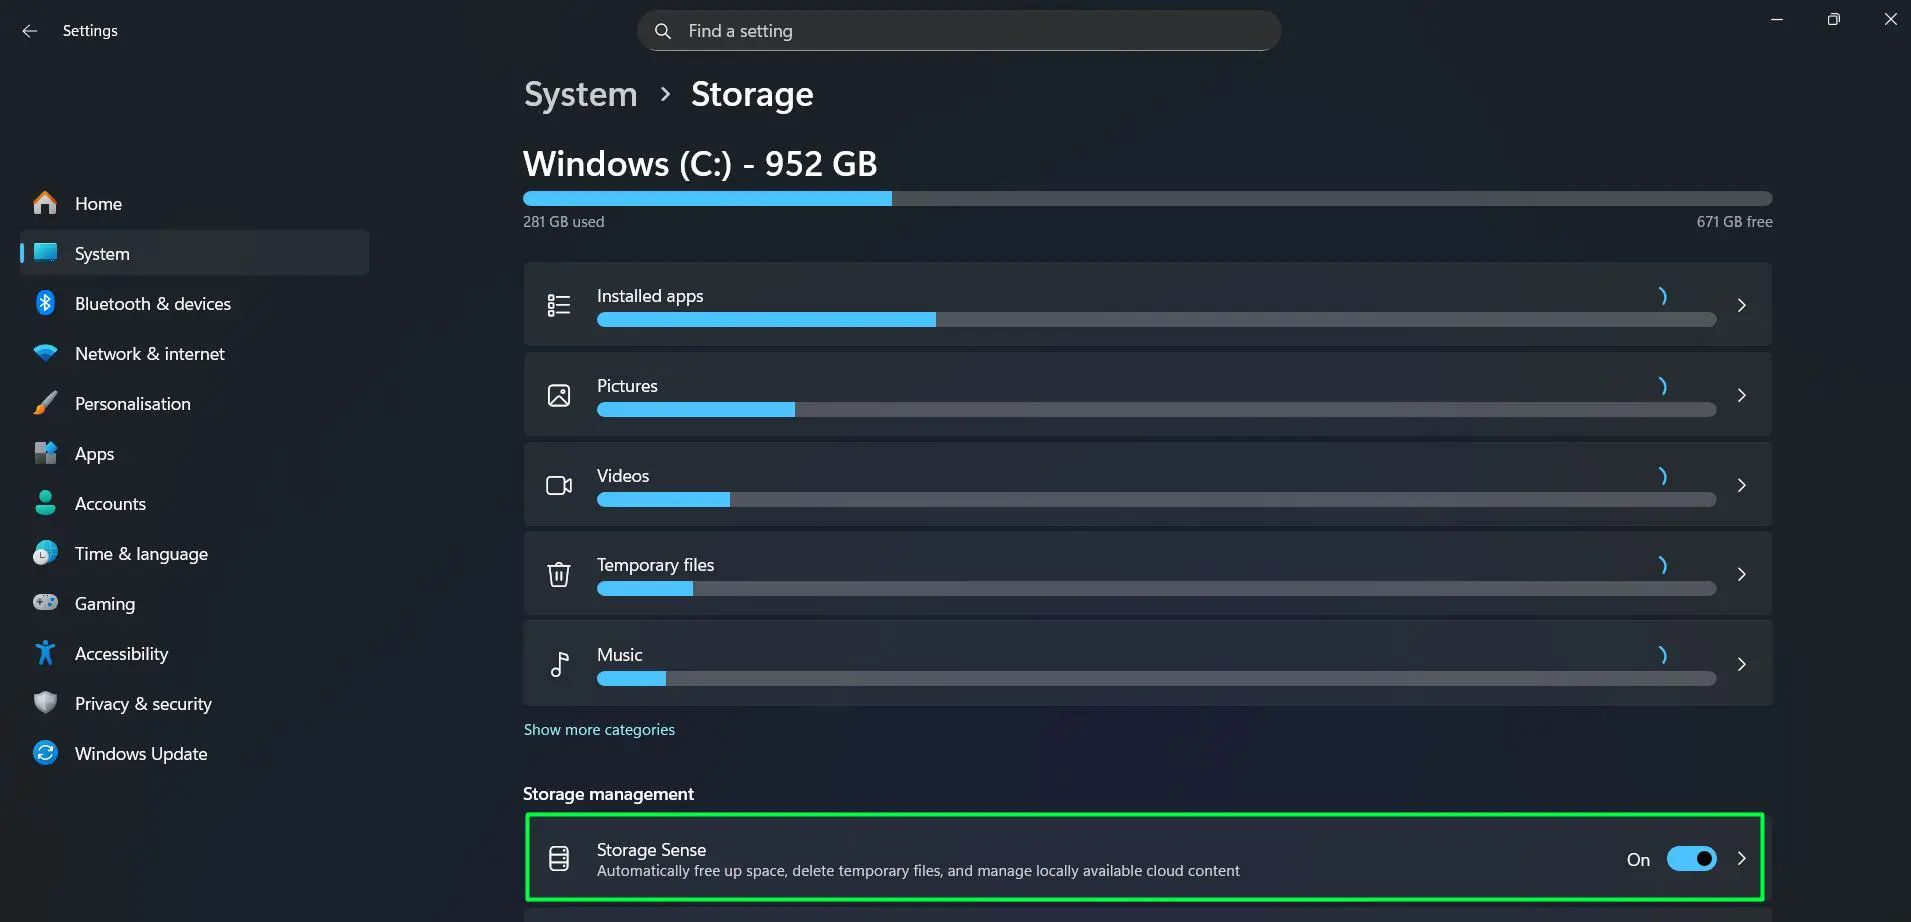
Enable Storage Sense and Keep the Drive Optimized
Storage Sense is a built-in Windows 11 tool that automatically frees up disk space by removing junk files on a schedule. Keeping the system drive lean means faster file access during boot.
- Step 1: Open Settings and go to System > Storage
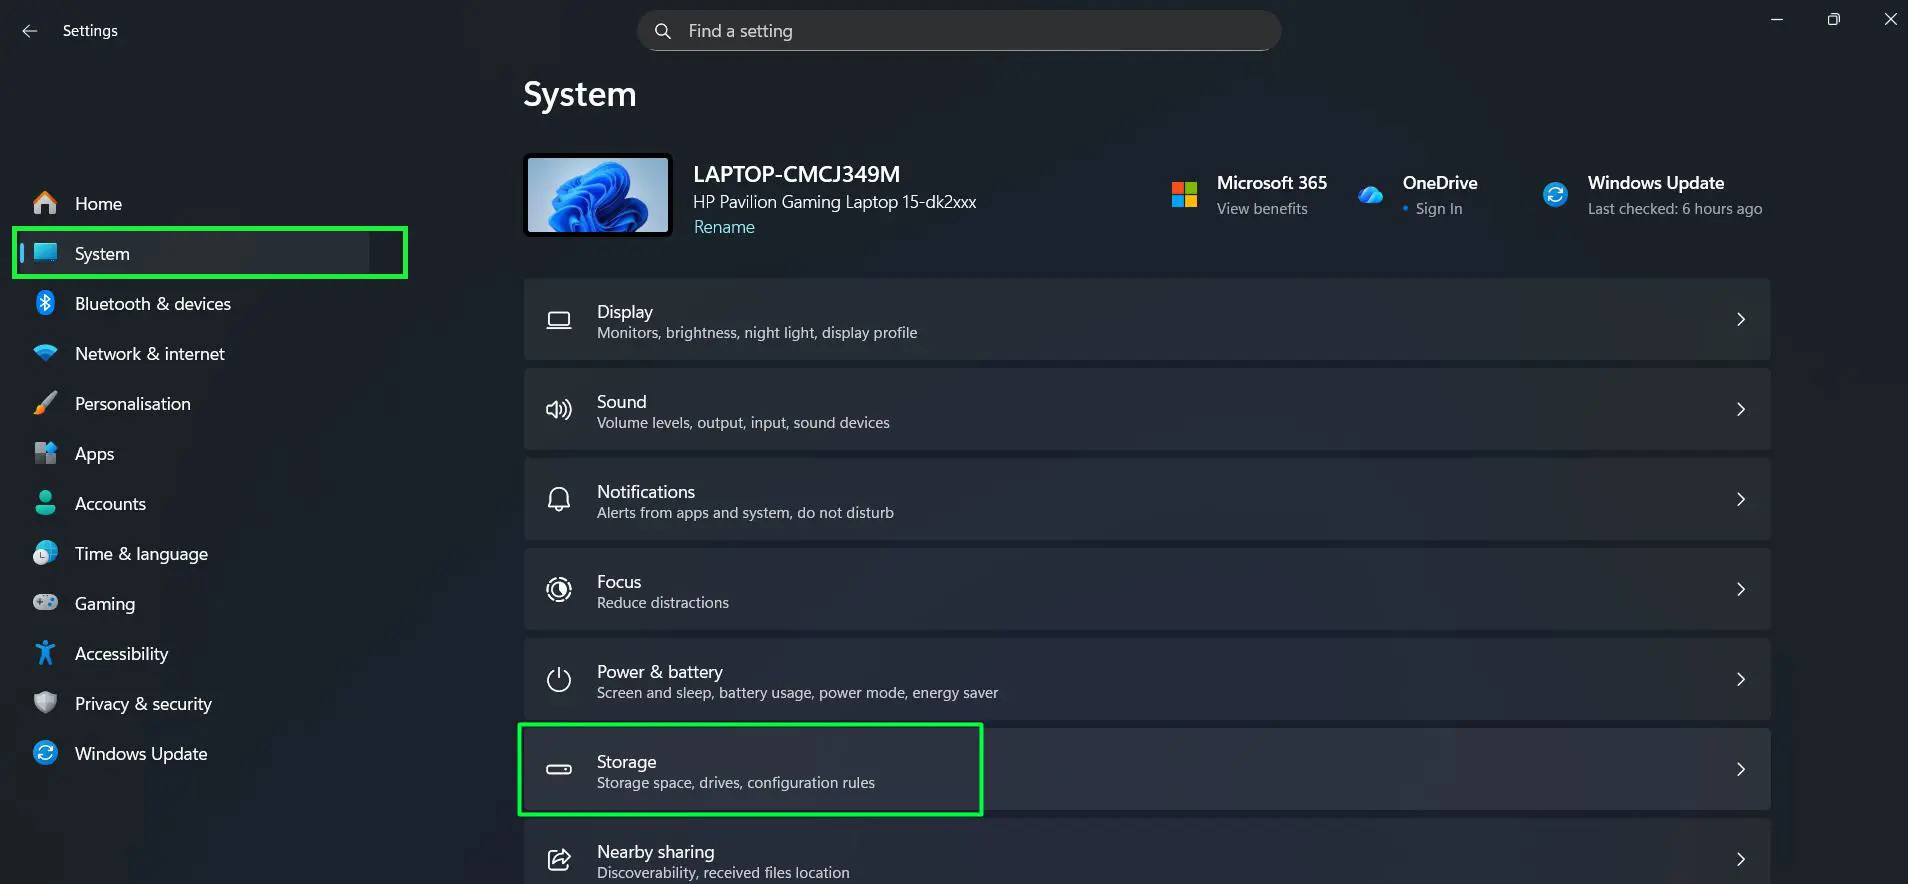
- Step 2: Toggle Storage Sense to On
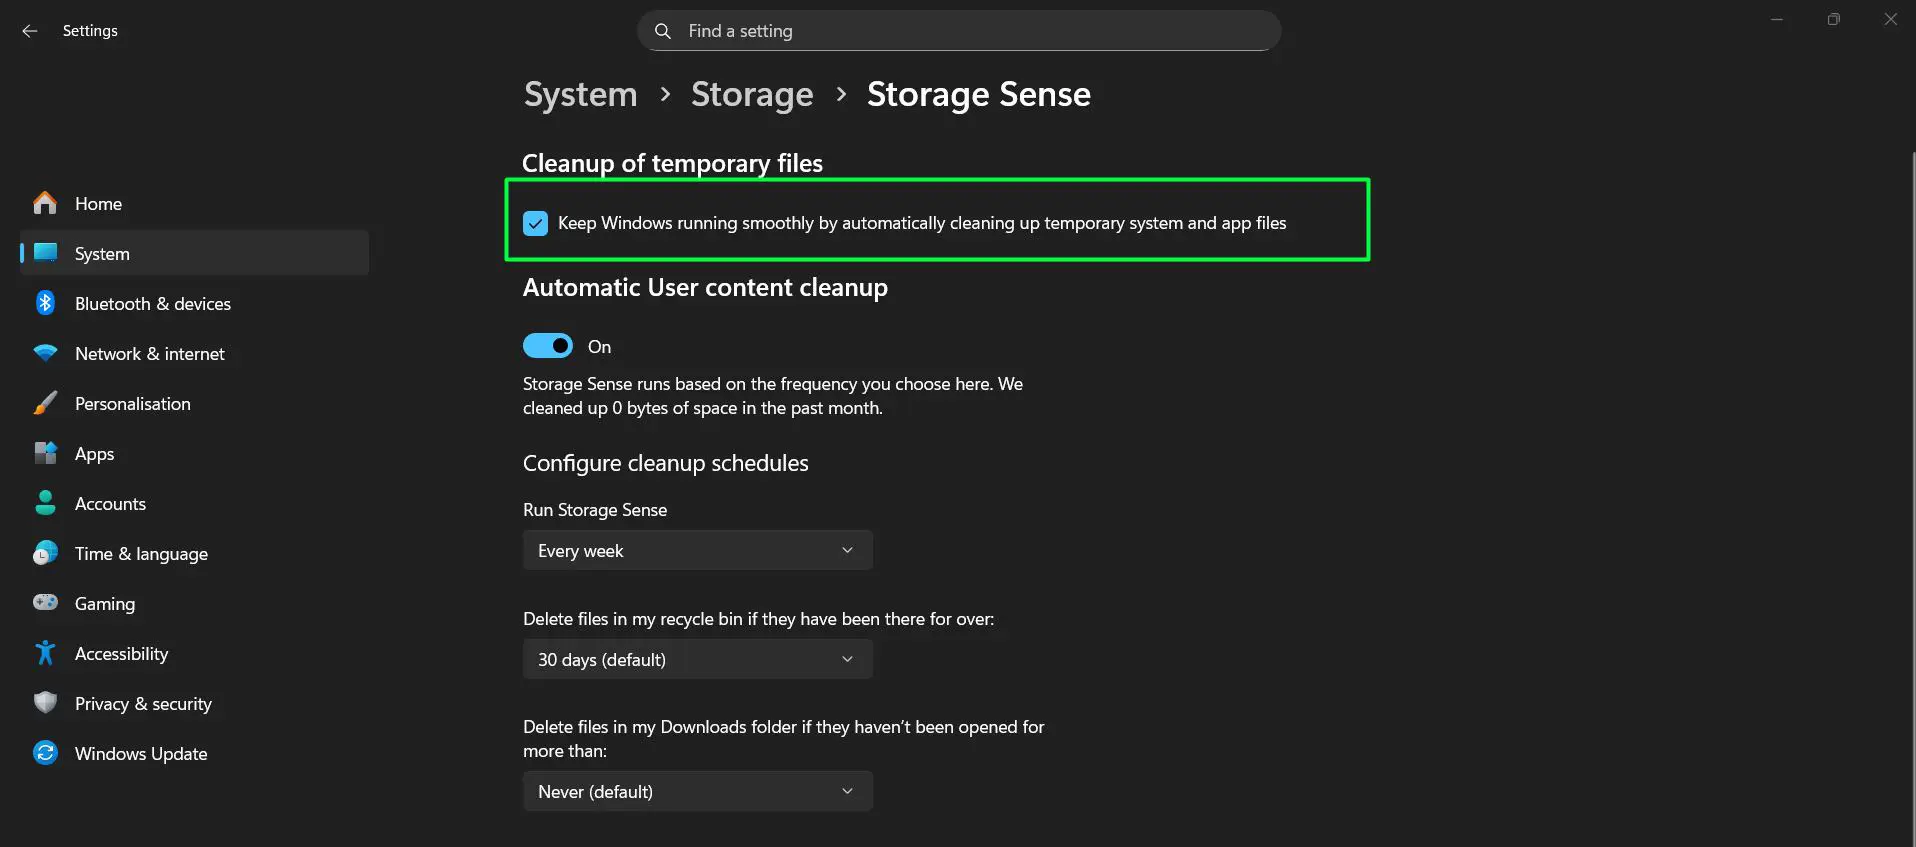
- Step 3: Check the ‘Keep Windows running smoothly by automatically cleaning up temporary system and app files‘ checkbox
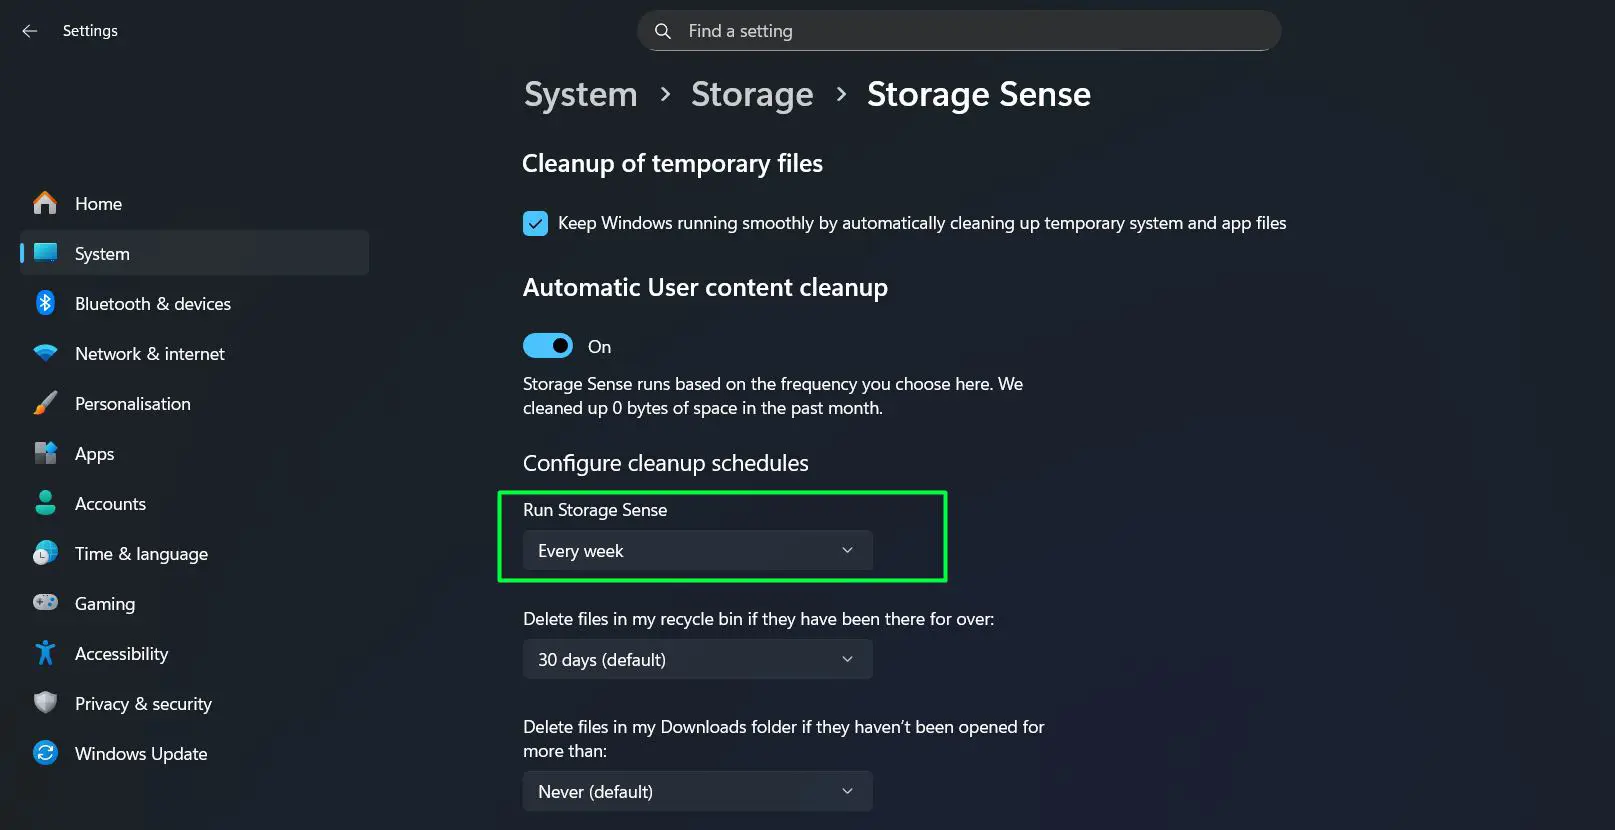
- Step 4: Click Storage Sense to configure – set it to run ‘Every week’ for best results
This is more of a long-term maintenance step than an instant fix, but it prevents the kind of drive clutter that silently slows boot times over months of use.
Pro-Tip: Check the drive’s free space before and after cleanup. Windows 11 needs at least 10 to 15 percent of the system drive free to operate efficiently. If the drive is nearly full, even the best tweaks will have limited effect – clearing space is the priority in that case.
Tips & Recommendations
The steps covered in this guide are among the most effective ways to improve boot speed on a Windows 11 laptop, and following them consistently will make a noticeable difference. Even applying just two or three of the methods above- particularly disabling startup programs and enabling Fast Startup – is enough to see real results on most machines, regardless of how old or new the hardware is.
For the best outcome, work through the steps in order and restart the laptop after each change so the improvements can take effect properly. Keeping up with Windows updates and running Storage Sense on a weekly schedule will also ensure the gains hold over time, rather than letting the system slowly creep back to sluggish boot times as clutter and background processes build up again.
Frequently Asked Questions
Why is Windows 11 boot so slow compared to Windows 10?
Windows 11 introduced additional startup processes, visual elements, and background services that can increase boot time, especially on older hardware. Applying optimizations like disabling startup programs and enabling Fast Startup typically restores or improves on Windows 10 boot speeds.
Does enabling Fast Startup cause any problems?
Fast Startup is safe for most users. The main known limitation is that it can occasionally interfere with dual-boot setups or cause certain driver updates to not apply correctly. If those situations apply, a full restart (not shutdown) always bypasses Fast Startup and loads clean.
How much faster can a laptop boot after these changes?
Results vary by hardware, but most users report boot times dropping by 10 to 30 seconds after disabling startup apps and enabling Fast Startup. On laptops with SSDs, total boot time can drop to under 15 seconds on clean, optimized systems.
Is it safe to edit the registry to reduce startup delay?
Yes, the StartupDelayInMSec registry tweak is widely used and does not affect system stability. It simply removes an intentional wait time. If any issue occurs, deleting the value and restarting fully reverses the change.
Will these tweaks work on a laptop with an HDD?
Yes, and on HDD-based laptops the improvements are often even more noticeable. Disabling startup apps, running disk cleanup, and defragmenting the drive can make a significant difference. That said, upgrading to an SSD is the single biggest hardware improvement for boot speed on older laptops.
Does Windows 11 startup optimization require any third-party software?
No third-party tools are needed. Every step in this guide uses built-in Windows 11 features and settings. Third-party ‘optimizer’ apps are unnecessary and can sometimes cause more problems than they solve.