Screen recording software for Windows 11 has become essential for creating tutorials, capturing gameplay, recording meetings, and documenting technical issues. The right tool can make the difference between a smooth recording experience and hours of frustration. This guide covers the three best screen recording software options that deliver professional results without unnecessary complexity.
Quick Summary: Top 3 Screen Recording Software Comparison
| Software | Best For | Key Features | Limitations |
|---|---|---|---|
| OBS Studio | Advanced users, streamers, content creators | Unlimited recording time, scene switching, multiple sources, live streaming | Steeper learning curve, requires setup |
| ShareX | Quick captures, productivity, technical documentation | Lightweight, automatic upload, scrolling capture, annotation tools | Less intuitive for beginners |
| Camtasia | Professional tutorials, polished videos, business presentations | Built-in editor, effects library, cursor smoothing, multi-track timeline | Paid software, higher system requirements |
What Makes Great Screen Recording Software
The best screen recording tools share several core characteristics. Performance matters most—software that consumes excessive system resources will cause stuttering in recordings and slow down the computer. Quality settings should be adjustable, allowing users to balance file size against video clarity based on their specific needs.
Flexibility in capture options separates good software from mediocre alternatives. The ability to record the full screen, specific windows, or custom regions provides control over what appears in the final video. Audio handling is equally important, with support for system sound, microphone input, or both simultaneously.
Native Windows 11 integration ensures compatibility with the latest features and display technologies. Software that works seamlessly with high-DPI displays, multiple monitors, and HDR content saves time and eliminates technical headaches.
OBS Studio: Professional-Grade Open Source Solution
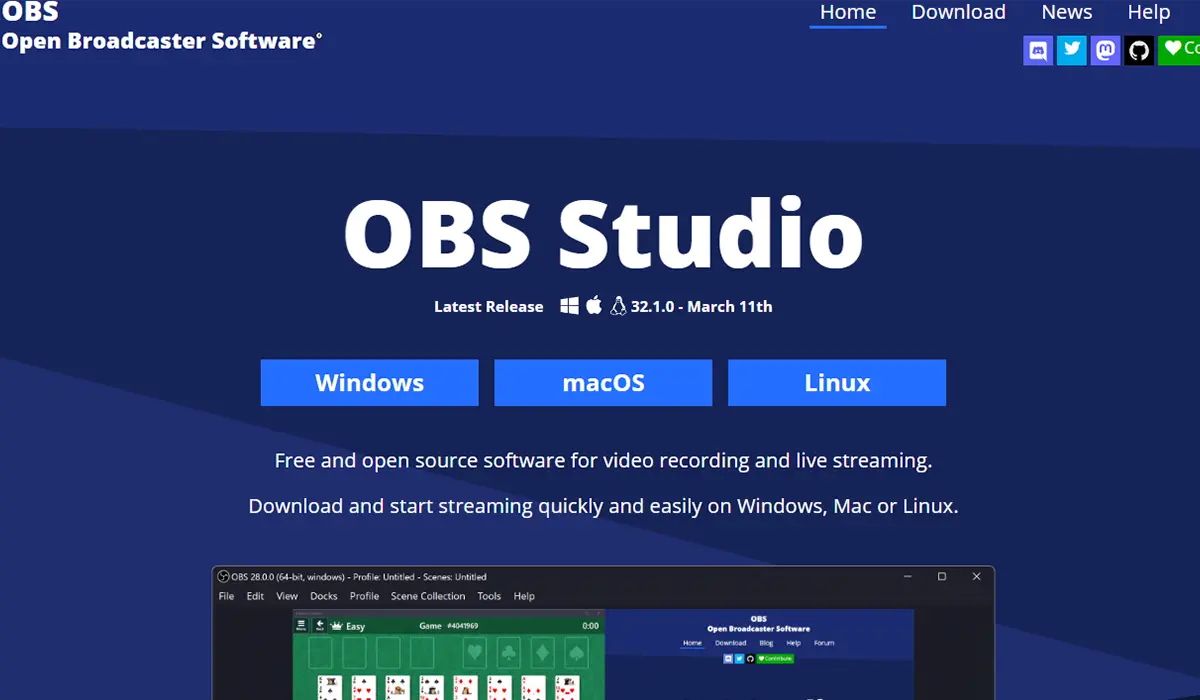
OBS Studio stands as the most powerful free screen recording software available for Windows 11. Originally designed for live streaming, its recording capabilities rival premium paid alternatives. The software handles complex multi-source setups that would crash simpler programs.
Core Capabilities
OBS excels at capturing multiple sources simultaneously. Users can combine screen recordings with webcam footage, overlay images, add text, and switch between different scenes during recording. This flexibility makes it the preferred choice for gaming content, educational videos, and professional presentations.
The encoder settings provide granular control over output quality. Hardware encoding using NVIDIA NVENC or AMD VCE offloads processing from the CPU, enabling smooth recordings even during resource-intensive activities. The software supports all major video formats and codecs, with customizable bitrate, resolution, and frame rate settings.
Audio management in OBS operates on a professional level. Separate audio tracks for different sources, real-time mixing, noise suppression, and gain filters give users broadcast-quality sound control. The audio monitoring feature allows checking levels before starting a recording.
Setup Process
Download OBS Studio from the official website and run the installer. The Auto-Configuration Wizard appears on first launch, optimizing settings based on hardware specifications and intended use. Most users should run this wizard rather than manually configuring everything.
Create a scene by clicking the plus icon in the Scenes panel. Add sources to capture by selecting the plus icon in the Sources panel—Display Capture records the entire screen, Window Capture targets specific applications, and Game Capture optimizes for gaming. Arrange sources by dragging them in the preview window and resize using the red handles.
Configure output settings in Settings > Output. For recording, select ‘Recording Quality’ preset for balanced results or ‘High Quality’ for maximum detail. Choose the recording path where files will be saved. The software creates large files quickly, so ensure adequate storage space exists.
Advanced Features
Studio Mode splits the interface into preview and live views, allowing scene preparation before switching. Transitions between scenes can be customized with fades, cuts, or stinger animations. Filters applied to sources enable chroma keying, color correction, and sharpening effects.
Plugins extend OBS functionality significantly. The Browser Source plugin embeds web pages directly into recordings, useful for displaying real-time information or interactive elements. Virtual camera output lets OBS serve as a webcam source in video conferencing applications.
Pro Tip: Enable replay buffer in Settings > Output > Replay Buffer to save the last few minutes of screen activity with a hotkey press. This feature is invaluable for capturing unexpected moments during gaming or live demonstrations without running continuous recordings.
When OBS Works Best
Content creators producing regular videos benefit most from investing time in learning OBS. The initial configuration effort pays dividends through unlimited recording capabilities and professional output quality. Streamers already familiar with the software for broadcasting find the recording features equally powerful.
Complex productions requiring multiple camera angles, overlays, or scene transitions become manageable in OBS. The software handles 4K recording at high frame rates on capable hardware, making it suitable for technical demonstrations requiring maximum clarity.
ShareX: Lightweight Screenshot and Recording Tool
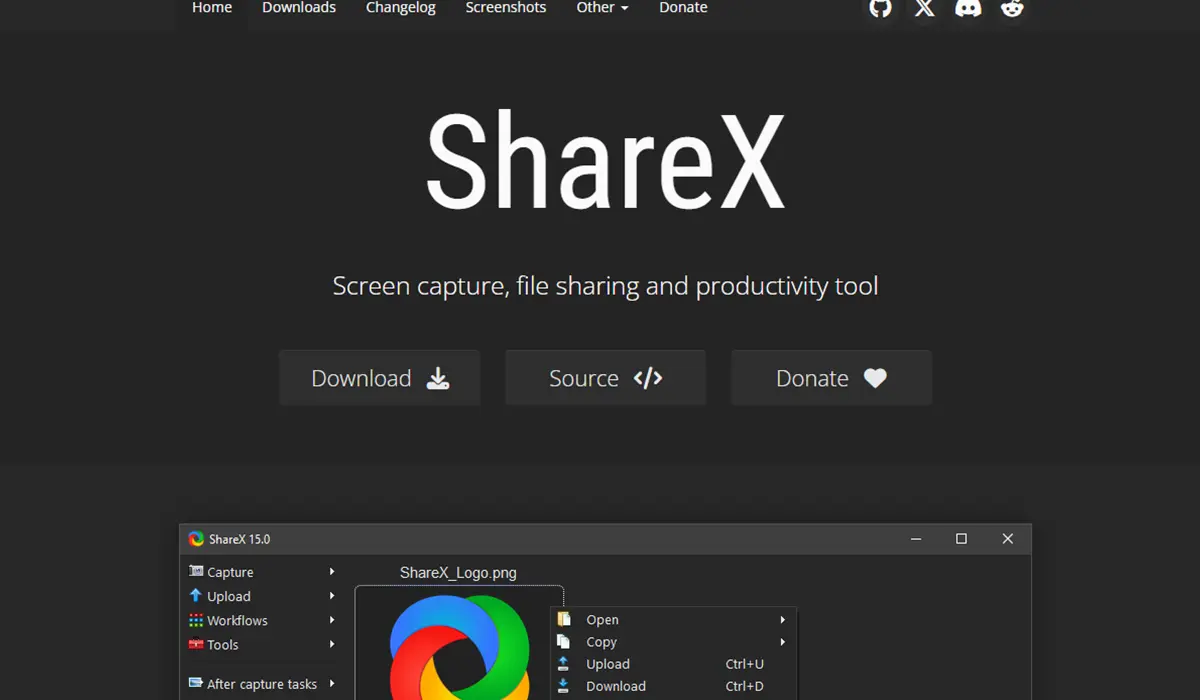
ShareX approaches screen recording from a productivity angle. The software started as a screenshot tool and expanded to include recording capabilities while maintaining its lightweight footprint. This makes it ideal for quick captures and technical documentation work.
Recording Capabilities
Screen recording in ShareX emphasizes simplicity over complexity. The software captures regions, windows, or full screens with minimal setup. Recordings start immediately after selecting a capture area, eliminating the multi-step process required by more complex programs.
Format options include MP4, GIF, and WebM outputs. The GIF creation feature converts screen recordings into animated images automatically, perfect for demonstrating short processes or creating social media content. File size remains reasonable even for extended recordings through efficient encoding.
Automatic upload functionality sets ShareX apart. Recordings can be sent directly to cloud storage services, image hosts, or FTP servers without manual file management. Custom upload destinations integrate with virtually any web service through API support.
Getting Started
Install ShareX from the Microsoft Store or official website. The application runs in the system tray, accessible through a right-click menu or customizable hotkeys. Navigate to Task Settings > Screen Recorder to configure video quality, frame rate, and audio sources before the first recording.
Start a screen recording by pressing the assigned hotkey or selecting ‘Screen Recording’ from the tray menu. Click and drag to define the capture area, then release to begin recording. The recording toolbar appears at the top of the screen, showing duration and providing stop controls.
Configure post-capture actions in Task Settings > After Capture. ShareX can automatically upload recordings, copy file paths to the clipboard, or open videos in an editor. The workflow automation saves substantial time when creating multiple recordings.
Unique Features
Scrolling capture creates long screenshots by automatically scrolling through web pages or documents. This feature works for static content documentation where traditional screenshots would require multiple images. The OCR (Optical Character Recognition) tool extracts text from screenshots and recordings.
The built-in editor allows quick annotations without launching external software. Add arrows, text boxes, blur regions, or highlight important areas immediately after capturing. These edits save directly to the file, streamlining the documentation process.
Custom workflows chain multiple actions together. A workflow might capture a screen region, apply watermark, resize the image, and upload to three different services—all triggered by a single hotkey. Power users can automate repetitive recording tasks completely.
Ideal Use Cases
Technical support teams find ShareX invaluable for creating bug reports and documentation. The ability to capture, annotate, and share in seconds accelerates communication. Software developers use it to document features and create screenshots for documentation.
The low system impact allows ShareX to run continuously in the background. Users can trigger recordings at any moment without launching heavy software or interrupting workflow. This makes it perfect for capturing sporadic events or unexpected issues.
Camtasia: Premium All-in-One Video Solution
Camtasia combines screen recording with professional video editing in a single package. The integrated approach eliminates the need for separate recording and editing software, streamlining video production workflows. This makes it the top choice for creating polished tutorials and presentations.
Recording Experience
The Camtasia Recorder focuses on ease of use rather than overwhelming users with options. A simple interface presents essential choices: record screen, webcam, or both; enable system audio and microphone; set recording dimensions. Most users can start recording within seconds of launching the software.
Cursor effects automatically enhance mouse movements during recording. Smooth cursor motion, click animations, and highlight effects draw attention to important areas without manual editing. These effects apply retroactively in the editor, allowing adjustment after recording completes.
SmartFocus automatically pans and zooms to follow on-screen activity. The feature analyzes mouse movements and creates dynamic camera motion, adding visual interest to otherwise static recordings. Users can enable, disable, or adjust these effects during editing.
Installation and Setup
Purchase and download Camtasia from the TechSmith website. The installation process includes the recorder and editor components. Launch Camtasia and select ‘New Recording’ to access the recorder interface.
Configure recording dimensions using the preset buttons (full screen, custom, or standard sizes) or drag the green selection border to any size. Select audio sources using the dropdown menus—the recorder can capture system audio and microphone simultaneously with separate volume controls.
Enable webcam overlay if face-cam footage should appear in the recording. The webcam preview shows how it will appear in the final video, with options to resize and reposition before recording starts. Click the red record button to begin after a three-second countdown.
Editing Integration
Recordings automatically open in the Camtasia editor when recording stops. The timeline-based interface resembles professional video editing software while remaining accessible to beginners. Trim unwanted sections, split clips, and rearrange segments through simple drag-and-drop operations.
The effects library includes transitions, animations, titles, and callouts. Drag effects directly onto timeline clips to apply them. Annotations highlight important screen areas with arrows, shapes, or sketch motion paths. The quiz and survey features add interactivity to tutorial videos.
Audio editing tools handle common post-production tasks. Noise removal cleans up background sounds, volume leveling balances inconsistent audio, and the fade in/out effects smooth transitions. Separate audio tracks allow independent adjustment of system sound, microphone, and music.
Production Features
Multi-track editing supports complex video compositions. Layer multiple video tracks, add picture-in-picture effects, and create sophisticated animations. The visual effects include cursor highlighting, blur regions for privacy, and color adjustments.
Templates provide starting points for common video types. Tutorial templates include pre-designed intros, outros, and lower thirds. Users can save custom templates containing frequently used settings and elements, ensuring consistent branding across videos.
Export presets optimize videos for different platforms. Select YouTube, Vimeo, or custom settings to render videos with appropriate resolution, bitrate, and format. The software can upload directly to video hosting platforms after rendering completes.
Pro Tip: Use markers during recording to flag important moments or sections needing editing. Press Ctrl+M while recording to drop a marker that appears in the timeline, making it easy to locate specific points in long recordings without scrubbing through the entire video.
Best Applications
Organizations creating training materials appreciate the polished results Camtasia produces. The built-in editor eliminates the need for employees to learn separate video editing software. Educators producing online course content benefit from the quiz features and professional appearance.
Marketing teams use Camtasia for product demonstrations and promotional videos. The ability to add professional graphics, callouts, and animations creates engaging content without hiring video specialists. Small businesses find the investment worthwhile for creating customer training videos and internal documentation.
Choosing the Right Software
Selection depends primarily on recording frequency and output requirements. Occasional users who need quick screen captures for troubleshooting or simple documentation should start with ShareX. The zero-cost and low learning curve make it accessible immediately.
Regular content creators working on gaming videos, tutorials, or streaming benefit from OBS Studio’s power and flexibility. The time invested in learning the interface pays off through unlimited recording capabilities and professional features. The lack of cost removes barriers to experimentation and learning.
Professional environments requiring polished, edited videos justify Camtasia’s cost. Organizations producing training content, marketing teams creating product videos, and educators developing course materials find the integrated workflow more efficient than cobbling together free alternatives. The editing features eliminate the need for additional software purchases.
Hardware capabilities influence software choice as well. OBS Studio demands more system resources than ShareX, particularly when recording at high resolutions or frame rates. Older computers or budget laptops may struggle with OBS but handle ShareX effortlessly. Camtasia falls between the two in resource requirements, with the editor consuming more RAM during the editing process.
Getting Started with Screen Recording
New users should begin with ShareX to understand basic recording concepts without overwhelming features. Create a few test recordings, experiment with different capture regions, and try the annotation tools. This foundation makes advanced software more approachable.
Progress to OBS Studio when recording needs expand beyond simple captures. Work through the Auto-Configuration Wizard and record several test videos before attempting complex productions. Join the active OBS community forums to learn from experienced users and discover optimization techniques.
Consider Camtasia when video editing becomes a regular part of the workflow. The trial version allows full exploration of features before committing to purchase. Many users find that starting with free alternatives helps them understand which premium features they actually need.
Most Windows 11 users also have access to the built-in Xbox Game Bar for basic recording needs. While this native tool works for simple captures, the three software options covered here provide significantly more control and features for serious recording work.
Frequently Asked Questions
Does Windows 11 have built-in screen recording?
Windows 11 includes the Xbox Game Bar, which provides basic screen recording functionality. Press Win+G to open it and start recording. However, dedicated screen recording software offers more features, better quality options, and greater flexibility than the built-in tool.
Can screen recording software capture system audio and microphone simultaneously?
All three recommended software options support simultaneous system audio and microphone recording. OBS Studio and Camtasia offer separate controls for each audio source, allowing independent volume adjustment. ShareX also supports dual audio capture with configurable input sources.
What screen recording software is completely free?
OBS Studio and ShareX are completely free and open-source with no limitations, watermarks, or time restrictions. Both receive regular updates and provide professional-quality recordings without any cost. Camtasia requires purchase but offers a free trial period.
How much storage space do screen recordings require?
Storage requirements vary based on resolution, frame rate, and compression settings. A 10-minute 1080p recording at 30fps typically uses 500MB to 2GB of space. Higher resolutions like 4K or increased frame rates consume significantly more storage. Adjust quality settings to balance file size against video clarity.
Can screen recording software record specific application windows?
OBS Studio and Camtasia both support window-specific recording, capturing only the selected application while excluding other screen content. This feature is useful for creating focused tutorials or hiding private information. ShareX captures regions or full screens rather than specific windows.
Will screen recording slow down gaming performance?
Recording impact depends on software settings and hardware capabilities. OBS Studio with hardware encoding (NVENC or VCE) minimizes performance impact. Software encoding uses more CPU resources and may reduce frame rates in demanding games. Lowering recording resolution or frame rate reduces the performance impact.
How do I reduce screen recording file sizes?
Lower the recording resolution, reduce frame rate, or increase compression in encoder settings. Recording at 720p instead of 1080p significantly decreases file size with minimal quality loss for most content. Using variable bitrate (VBR) encoding instead of constant bitrate (CBR) also reduces file sizes while maintaining quality in static scenes.
Can screen recording software capture multiple monitors?
OBS Studio handles multi-monitor setups excellently, allowing users to capture specific displays or span across multiple screens. Camtasia can record individual monitors or the entire desktop spanning all displays. ShareX captures selected regions across any monitors but requires manual selection of the desired area.